Overview
EditorConfig is an open source file format that helps developers configure and enforce formatting and code style conventions to achieve consistent, more readable codebases. EditorConfig files are easily checked into source control and are applied at repository and project levels. EditorConfig conventions override their equivalents in your personal settings, such that the conventions of the codebase take precedence over the individual developer. The simplicity and universality of EditorConfig make it an attractive choice for team-based code style settings in Visual Studio 2019.
Prerequisites
In order to complete this lab you will need the Azure DevOps Server 2019 virtual machine provided by Microsoft. Click the button below to launch the virtual machine on the Microsoft Hands-on-Labs portal.
Alternatively, you can download the virtual machine from here.
Exercise 1: Working with EditorConfig
Task 1: Creating an EditorConfig file
-
Log in as Sachin Raj (VSALM\Sachin). All user passwords are P2ssw0rd.
-
Launch Visual Studio from the taskbar.
-
Open PartsUnlimited.sln from the Start Page.
-
EditorConfig files are just ordinary text files that can be added to the project and managed through source control. In Solution Explorer, right-click src and select Add | New Item.

-
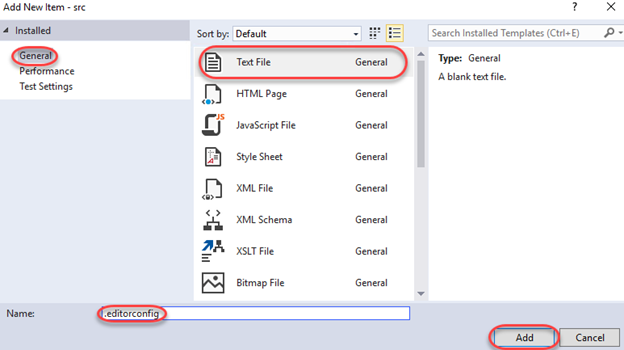
Select the General category and the Text File template. Enter the name .editorconfig and click Add.
-
When managing a file in the editor, Visual Studio will look for an .editorconfig file in the same folder (and recursive parent directories) to override configured settings in the IDE. Settings set in the directory closest to the file being edited take precedence. However, you can cut off the parent directory search by setting a root marker in the to-most .editorconfig file. This will be ours, so add the following line to the newly created .editorconfig.
root = true -
EditorConfig files are separated into sections based on patterns that match the files they apply to. For example, a filter like ”[.cs,.js,code.ts]” would apply to any C# or JavaScript file, and files with the exact name code.ts. You may have as many sections as needed. For the purposes of this lab, we will just work with C# files, so add the following line to .editorconfig.
[*.cs] -
One of the most common uses of EditorConfig files is to enforce how indents are handled in code. Add these two lines to the file to specify that every indentation should cover two characters and that the indentations should only use spaces.
indent_style = space indent_size = 2 -
Press Ctrl+S to save the file.
-
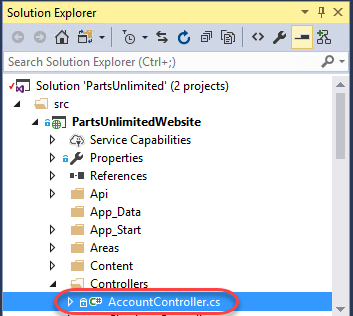
From Solution Explorer, open src\PartsUnlimited\Controllers\AccountController.cs.
-
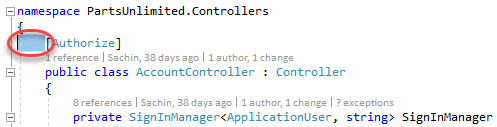
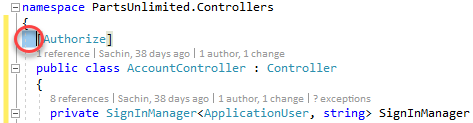
Take a close look at the formatting of the file, especially at the indentation. You can use the cursor to count the spaces before the [Authorize] attribute. The file was previously saved with the default four spaces per indentation, and the new EditorConfig settings won’t be applied until you explicitly format the file.
-
Press Ctrl+K followed by Ctrl+D. This is a shortcut that will format the document according to the configured styles. Note that you could alternatively do this from the menu via Edit | Advanced | Format Document.
-
Count the indentation now used before the attribute. It should be only two spaces.
-
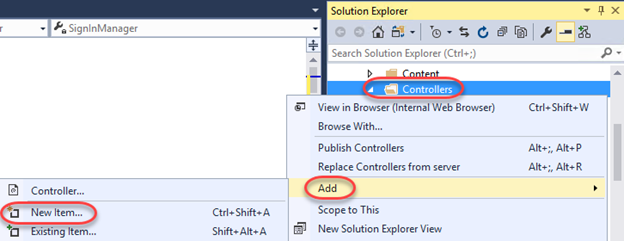
Let’s suppose that the team has decided that the Controllers directory needs some special settings for C# code. To help enforce this, you can add an .editorconfig file to the folder. In Solution Explorer, right-click the Controllers folder and select Add | New Item.
-
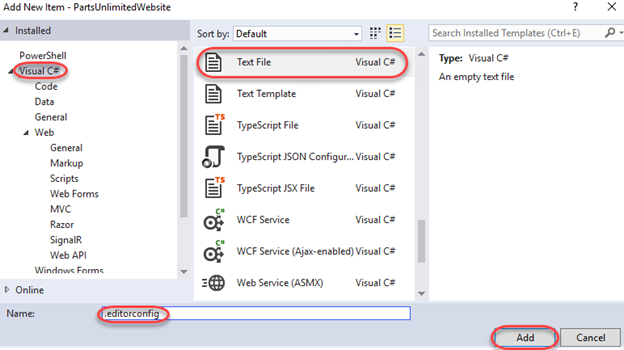
Select the Visual C# category and Text File template. Set the Name to “.editorconfig” and click Add.
-
For this folder we’ll override some of the existing settings by setting the indents to use tabs and cover eight characters. We’ll also set the width of tabs to four characters, which means each indentation will require two tabs. Add the lines below to the new .editorconfig file.
[*.cs] indent_style = tab indent_size = 8 tab_width = 4 -
Save the new .editorconfig.
-
Return to AccountController.cs and press Ctrl+K followed by Ctrl+D to apply the new formatting.
-
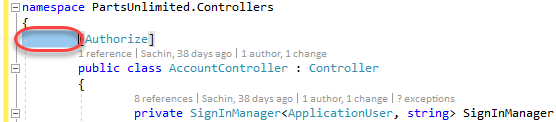
Take a close look at the indentation before the [Authorize] attribute. Note that it’s now using exactly two tabs. This is because we configured each tab to cover four spaces and total size for each indent to cover eight spaces. As a result, those two four-space tabs cover the required eight spaces.
-
We can also configure the editor to automatically trim whitespace from the end of lines. While this isn’t necessarily a huge issue for C# code, it is an important consideration for some other types of files. Add the line below to the most recent editorconfig file.
trim_trailing_whitespace = true -
Save .editorconfig.
-
Return to AccountController.cs and add some spaces after the [Authorize] attribute. Highlight the extra spaces so they’re easy to see.

-
Apply formatting via Ctrl+K, Ctrl+D and confirm the extra whitespace has been removed.
Task 2: EditorConfig extensions for .NET code style
-
In addition to some native EditorConfig properties, Visual Studio extends the standard to support many key elements from .NET Code Style. For example, the setting csharp_new_line_before_open_brace can enforce whether braces whether or not braces are put on their own lines. Add the following line to .editorconfig to change the default behavior such that braces are always appended to the end of the line before them.
csharp_new_line_before_open_brace = none -
Save .editorconfig.
-
Return to AccountController.cs and press Ctrl+K followed by Ctrl+D to apply the new formatting.
-
The braces should now be on the same lines as the code before them.

-
You can also use settings to specify how rules are applied to code in the editor. For example, the setting dotnet_style_predefined_type_for_locals_parameters_members can be used to enforce whether native types (such as string) should be preferred over wrapped types (such as System.String). Add the following line to .editorconfig.
dotnet_style_predefined_type_for_locals_parameters_members = true:error -
Save .editorconfig.
-
Return to AccountController.cs.
-
Add the following code just inside the SignInManager get method.
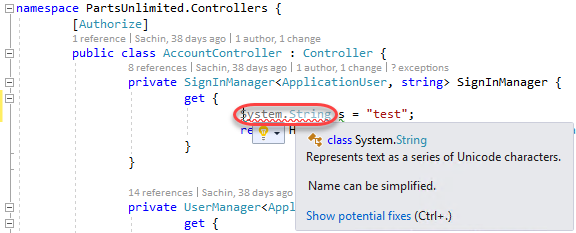
System.String s = "test"; -
Note that Visual Studio puts a red squiggle beneath the System.String since the rule identifies it as an error. Alternatively, you could have indicated that it should be handled as a warning (green squiggle), a suggestion (gray dots), or as none (ignore). Mouse over the offending code to read the error.
-
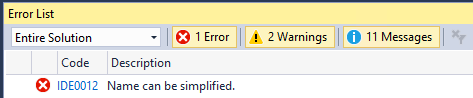
Press Ctrl+Shift+B to build the project. Note that while the build succeeds, the rule does raise an error in the Error List.
-
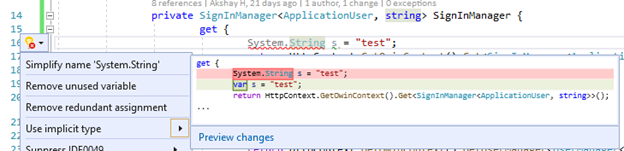
Click on the offending line of code in the editor and press Ctrl+. (period) to invoke the Quick Action options. Press Enter to accept the default suggestion of changing System.String to string.
-
Press Ctrl+Shift+B to build the project. There should be no errors now. For a more complete list of extensions you can use, please see this file.