Overview
GitHub has grown from being a fledgling source control provider into a formidable DevOps solution in just a few short years. Along with the portal experience, GitHub provides great integration for apps like Visual Studio to deliver a superior experience integrated within the environments developers spend their days in. In this lab, you’ll learn about GitHub support in Visual Studio 2019.
If you’d like to learn more about the basics of Git, please check out this lab.
Prerequisites
In order to complete this lab you will need the Azure DevOps Server 2019 virtual machine provided by Microsoft. Click the button below to launch the virtual machine on the Microsoft Hands-on-Labs portal.
Alternatively, you can download the virtual machine from here.
Exercise 1: Getting Started with GitHub using Visual Studio 2019
Task 1: Setting up a GitHub project
-
Log in as Sachin Raj (VSALM\Sachin). All user passwords are P2ssw0rd.
-
Install Google Chrome from https://google.com/chrome. GitHub does not support Internet Explorer, so use Chrome for the remainder of this lab.
-
Fork the project at https://github.com/Microsoft/PartsUnlimitedE2E into your own account.

-
Select the Settings tab.

-
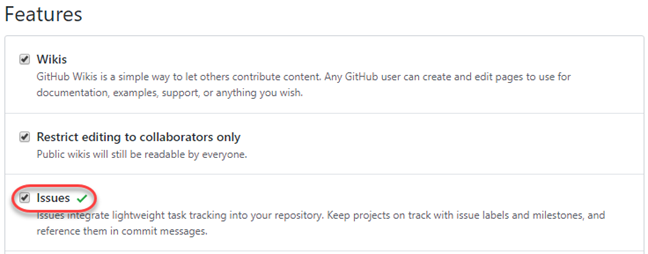
Enable Issues by checking its box.
-
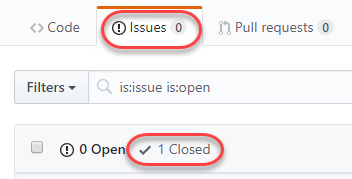
Select the Issues tab.

-
Click New issue.

-
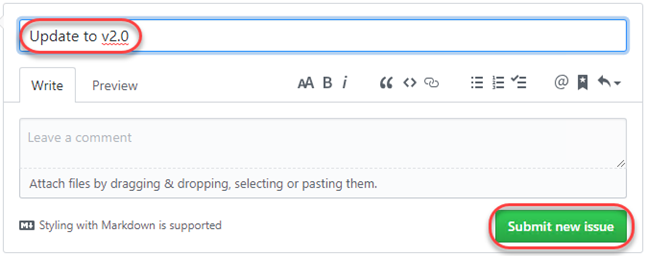
Create a new issue called “Update to v2.0” and click Submit new issue. Fixing this issue will be the focus of this lab.
-
Note the ID of the newly created issue.

Task 2: Cloning and configuring a GitHub project in Visual Studio
-
Open Visual Studio.
-
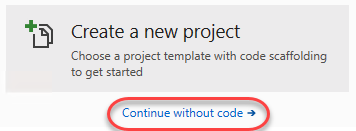
Click Continue without code. Note that you also have the option to start the cloning experience from the welcome dialog.
-
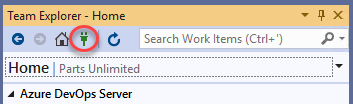
From Team Explorer, click the Manage Connections button.
-
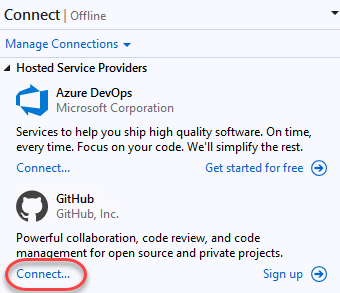
Under GitHub, click Connect. Complete the process to sign in to your GitHub account.
-
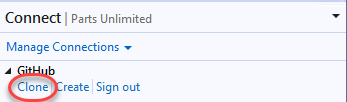
Click Clone.
-
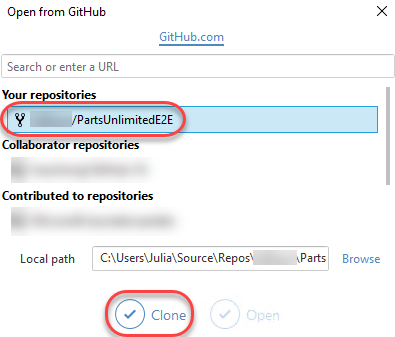
Select the project cloned earlier and click Clone.
-
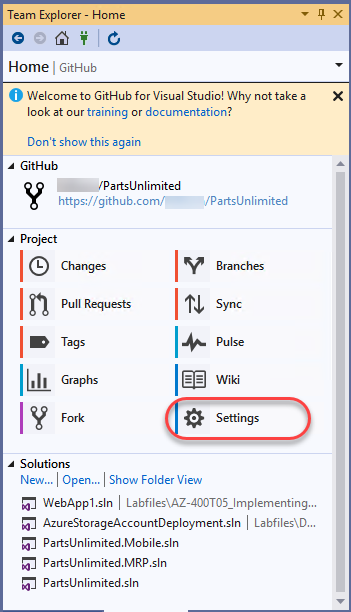
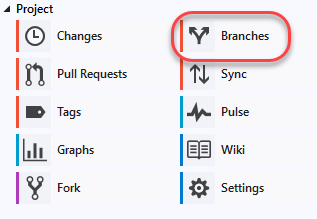
After logging in, Team Explorer lights up with a variety of shortcuts and features to make your experience with GitHub as seamless as possible. Many of the buttons are shortcuts to the GitHub portal page for this project, such as Pulse, Graphs, and Wiki. Click Settings.
-
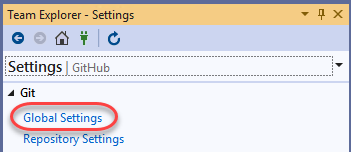
You can configure settings at two levels. Click Global Settings to review those first.
-
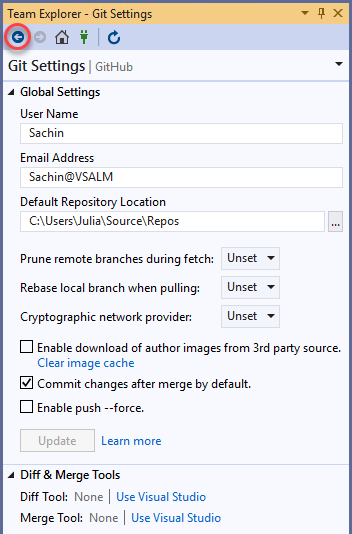
The Global Settings view provides a way for you to set global defaults that apply to all projects. In this case, the User Name and Email Address are already configured. However, you may want to change them for your instance. Click the Back button.
-
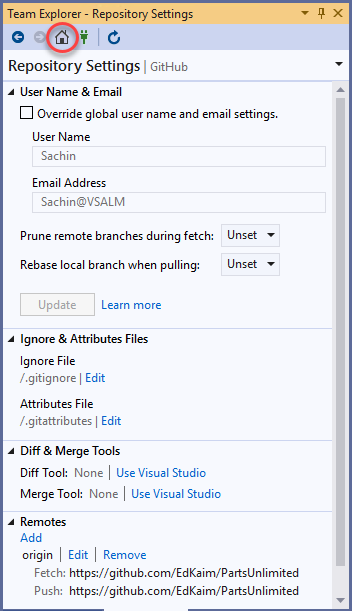
Click Repository Settings.

-
These settings are specific to the current project. Click the Home button.
Task 3: Exploring GitHub version control integration
-
To get started on the work item created earlier, click Branches. The work will be done on a separate branch and merged in after a review.
-
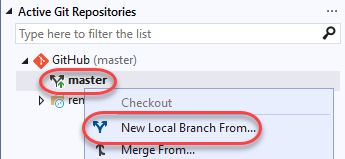
Right-click the master branch and select New Local Branch From.
-
Set the name to “dev” and click Create Branch.

-
The new branch will be checked out after creation. Note that you can see the current branch and perform common options using the button at the bottom of the window.

-
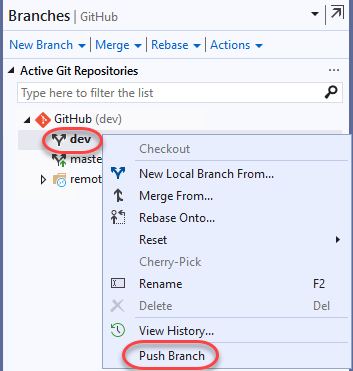
Right-click the dev branch and select Push Branch. This will push the locally created branch to the server.
-
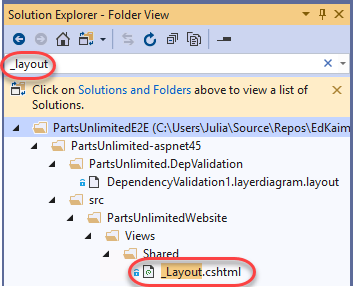
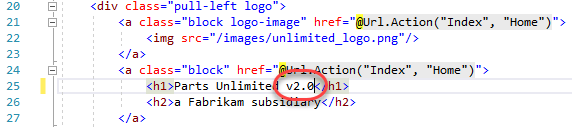
From Solution Explorer, search for “_layout” and open the _Layout.cshtml from the PartsUnlimitedWebsite project.
-
Add “v2.0” to the h1 tag text and Save the file.
-
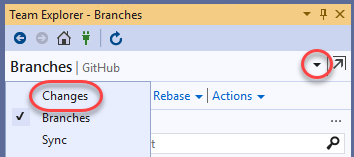
In Team Explorer, switch to Changes.
-
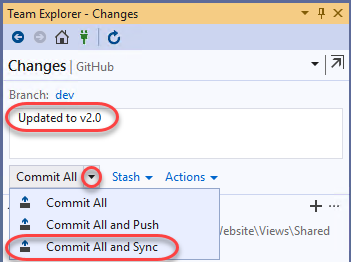
The source change made earlier will be shown here. Enter a commit message of “Updated to v2.0” and select Commit All | Commit All and Sync. This will commit your change and push it to the server.
Task 4: Exploring GitHub pull request integration
-
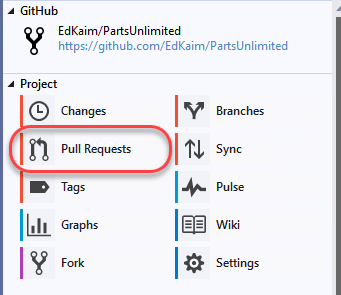
Although the dev branch has been updated with the necessary change, it still needs to work its way back in to the master. This can be done with a pull request. Click the Home button.

-
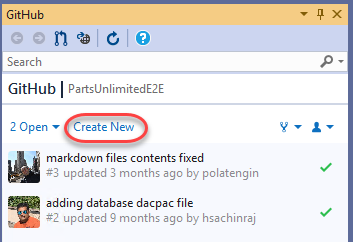
Click Pull Requests to start the pull request process.
-
Click Create New to create a new pull request.
-
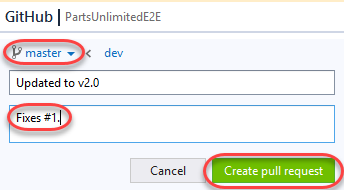
Set the branch to merge into to master from your project. Note that it will default to the Microsoft project, which you do not want to use. Set the comment to “Fixes #1.”. Note that you may need to replace the #1 with the ID created earlier if it were different. By tagging the pull request with the issue ID, you can automate closing the issue later on when the request is merged. Click Create pull request.
-
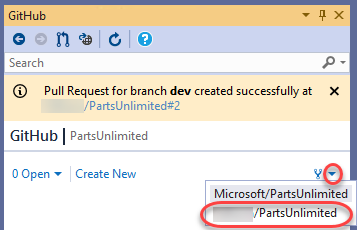
From the project dropdown, select the forked version in your GitHub account.
-
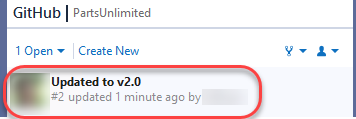
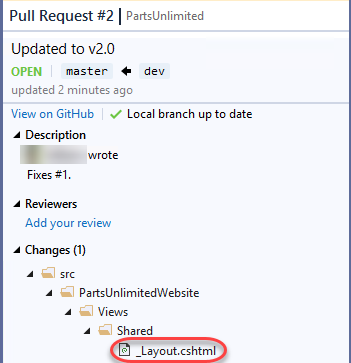
The newly created pull request will be visible. Double-click it to open.
-
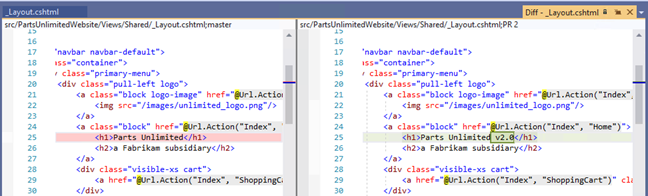
The pull request view includes all the information you need to review changes and make comments. Double-click _Layout.cshtml to open it in the diff viewer.
-
The diff viewer makes it easy to understand what changes were made and where.
-
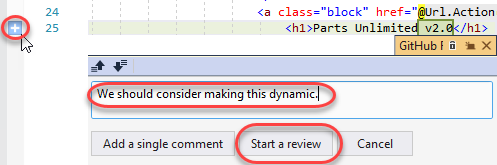
You can also leave line-level comments. Click the Add Comment button at the changed line and add a comment. Click Start a review.
-
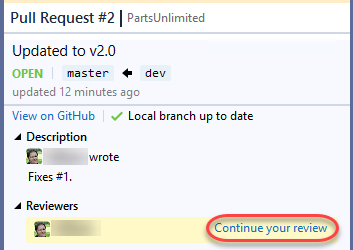
Your review is now visible as part of the pull request. Click Continue your review.
-
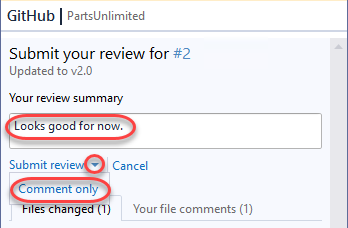
Enter a review summary and select Submit review | Comment only.
-
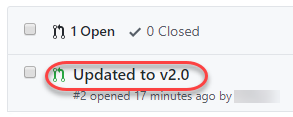
In the GitHub browser window, select the Pull requests tab.

-
Click the pull request to open it.
-
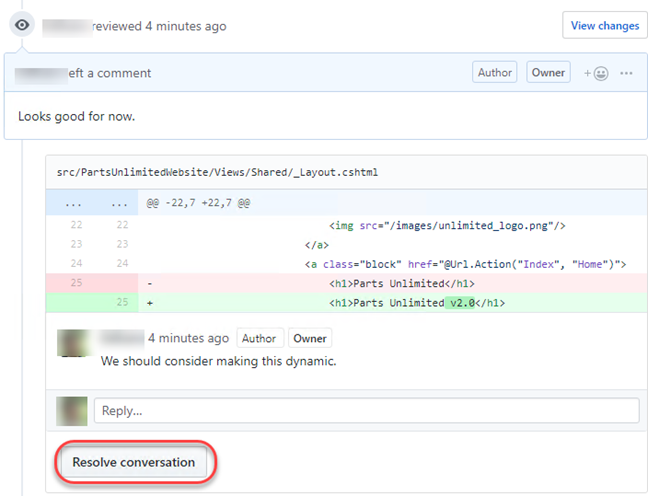
All of the information added from Visual Studio is visible in the pull request. Others can comment or review the changes as well. Click Resolve conversation to resolve the comment left during your review.
-
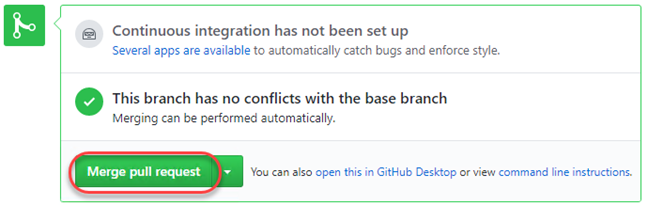
Click Merge pull request.
-
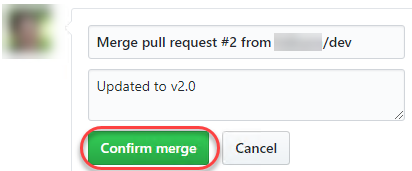
Confirm the merge.
-
Navigate back to the Issues tab. Note that the issue created earlier has been closed now that the pull request was approved.