Last updated : Jan 19, 2023.
Overview
Continuous Delivery is a great option for projects that require multiple and frequent contributions to be integrated. Continuous Delivery in Team Services simplifies setting up a robust deployment pipeline for your app to publish the most recent updates to Azure App Service. The pipeline can be configured to build, runs tests, and deploy to a staging slot and then to production.
This lab will walk you through the steps to create CI/CD pipeline directly from the azure portal.
Configuring the CD pipeline
-
Open your browser and sign in to Azure Portal (make sure you use the same email id for both Azure and VSTS)
-
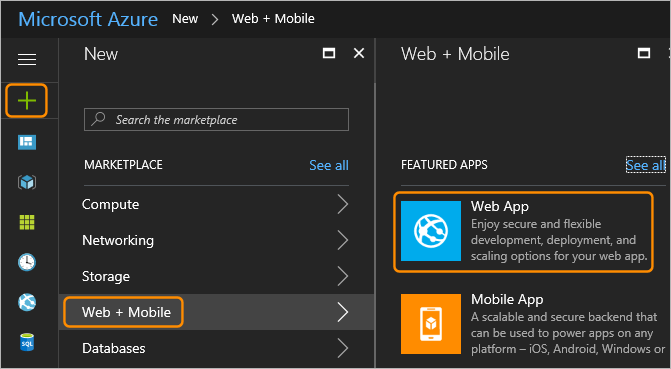
Create a web app by choosing the “+” icon, selecting Web App from the Web + Mobile category, and providing a unique name and a resource group.
-
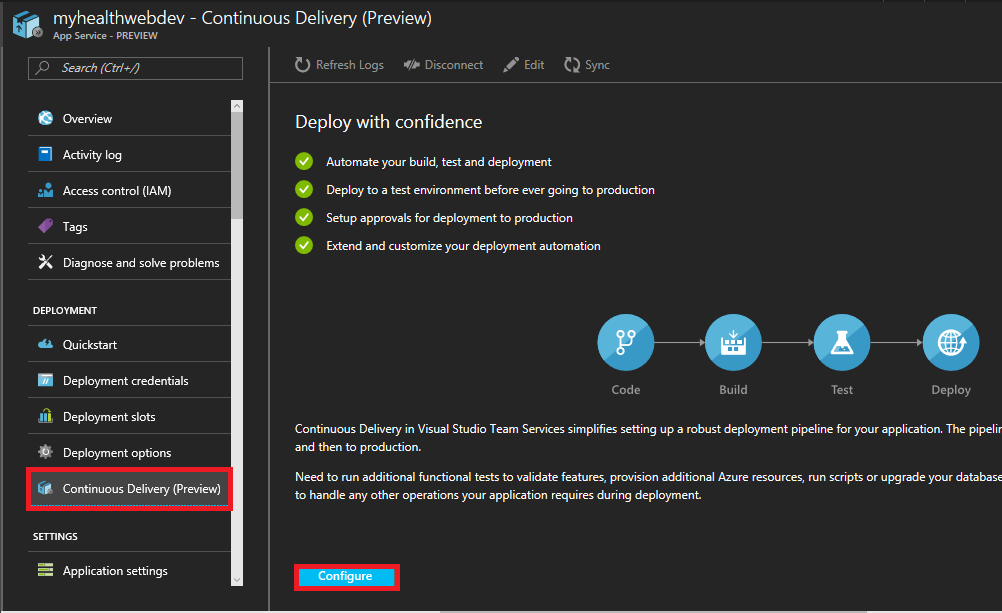
In your app’s menu blade, choose Continuous Delivery (Preview) and then choose Configure
-
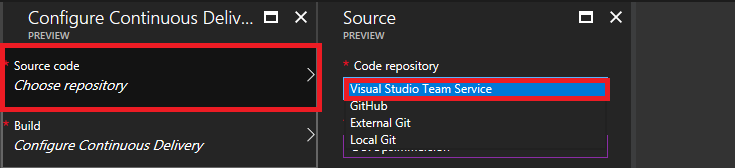
Select Choose repository and select Visual Studio Team Services.
-
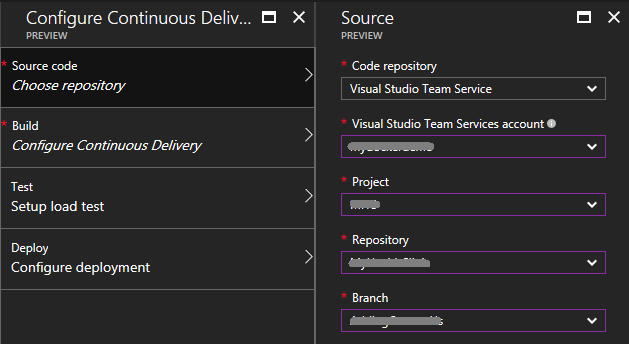
Select the VSTS account, project, repository, and branch where you have your My Health Clinic project. When you’re done, choose OK.
 Note: In addition to Visual Studio Team Services, you can also select other Git repositories such as GitHub or External Git (a Git repository not hosted in Team Services or GitHub, For instance, BitBucket). You will have to provide the account, repository and branch details and if it is a private repository, you will need to provide the credentials
 -
Select Configure Continuous Delivery and choose the web application framework you used to develop your app. Since we are targeting .NET Core, select ASP.NET Core.
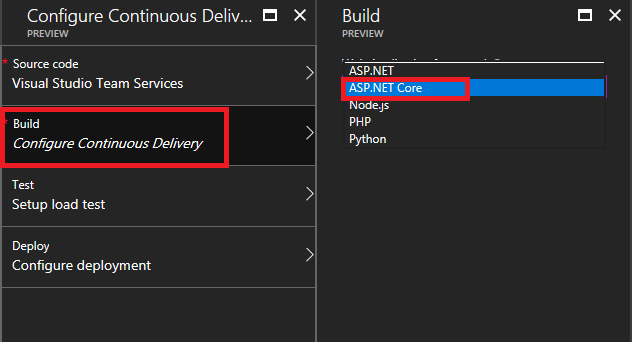 Note: This choice influences the way that Azure Continuous Delivery builds and packages the app for deployment. At present, ASP.NET, ASP.NET Core, PHP, Python, and Node.js are supported. When you’re done, choose OK.
 -
You can load test your web application before the changes are deployed to production. You will need to select a web app within the same resource group. If you are specifying for the first time, you can select Create New and provide the information to create a new instance. For this exercise, we will skip load test and move to the next step.
-
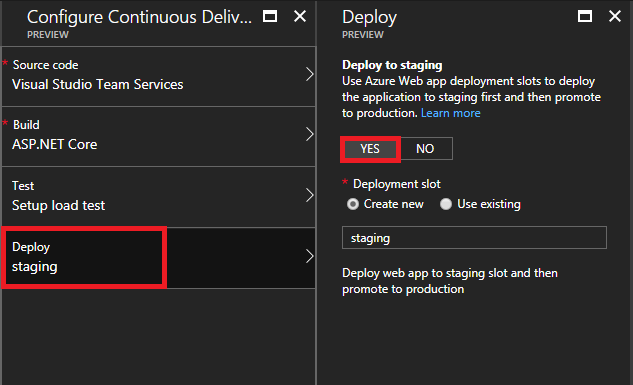
You can also select to deploy the changes to staging first (for testing purposes) and then promote the changes to production. Select Configure deployment and choose YES. Select Create New option for Deployment Slot and select OK.
-
Choose OK to create and execute the Continuous Delivery workflow.
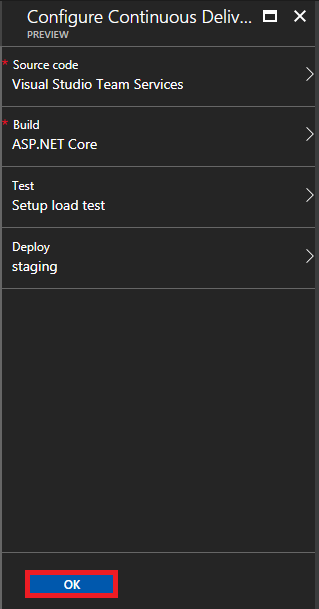
The workflow will create a build and a release definition in the Team Services account together with a service endpoint to connect to Azure. A new slot for staging is created for the web app. Once the setup has completed successfully, a build is triggered that builds and packages the application for deployment and when the build has completed successfully, a new release is created and the deployment triggered
-
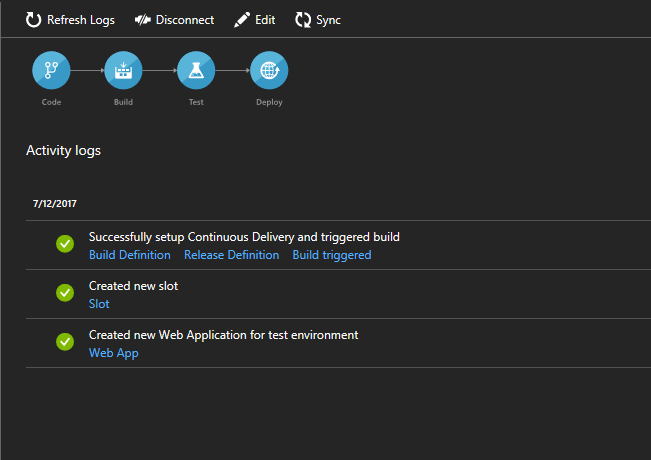
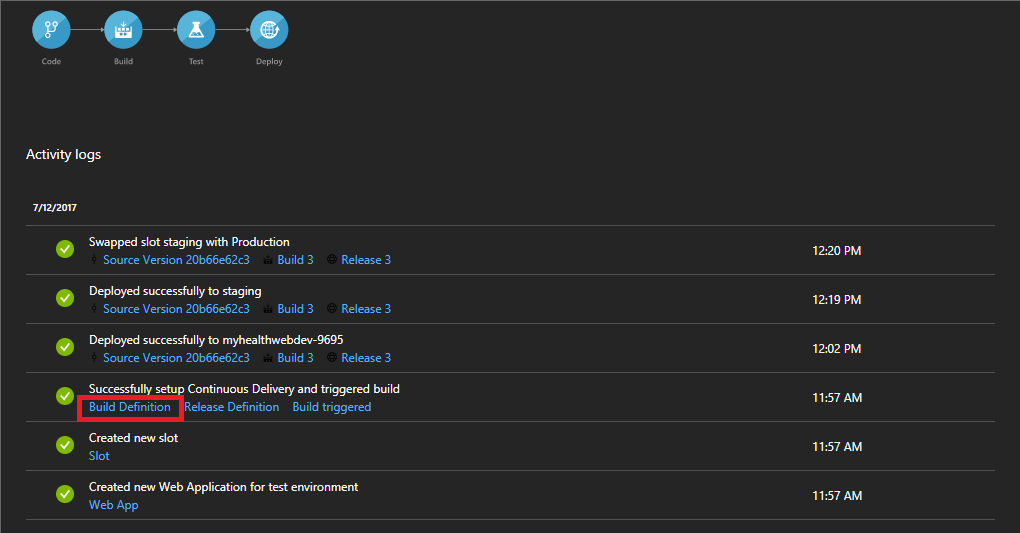
You can see the status of the steps from the the Activity Log.
-
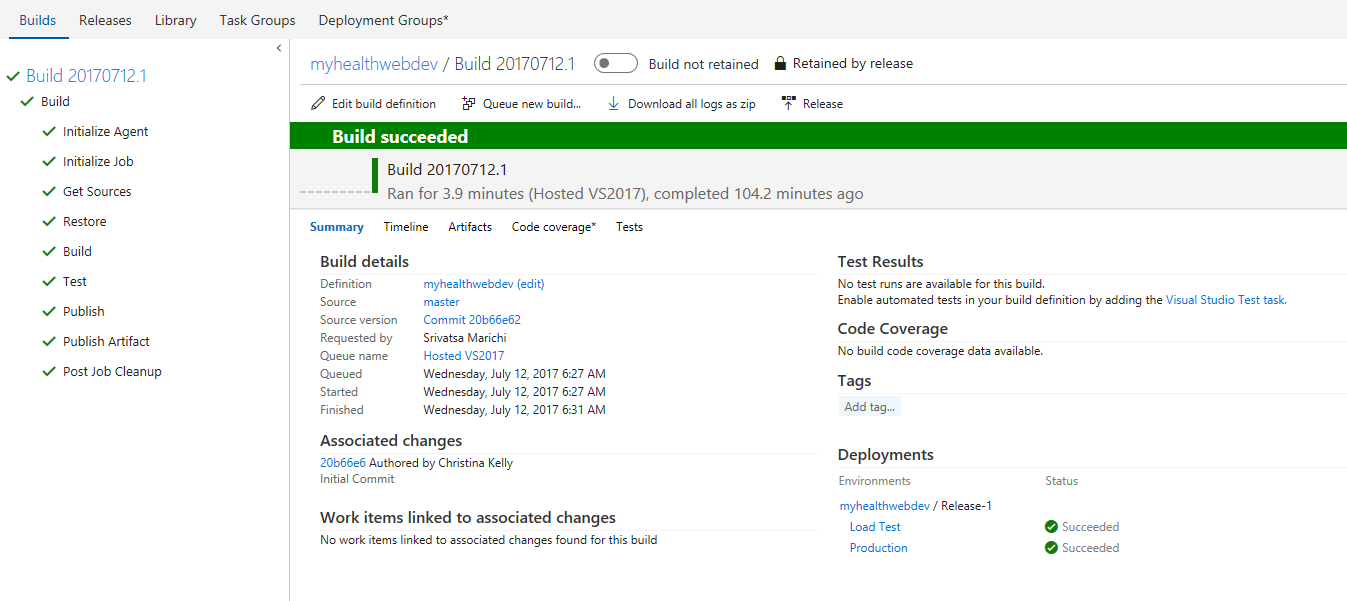
In the Successfully set up Continuous Delivery item, choose the Build Definition link to open the project containing your app in Team Services, and see the summary for the build definition.
-
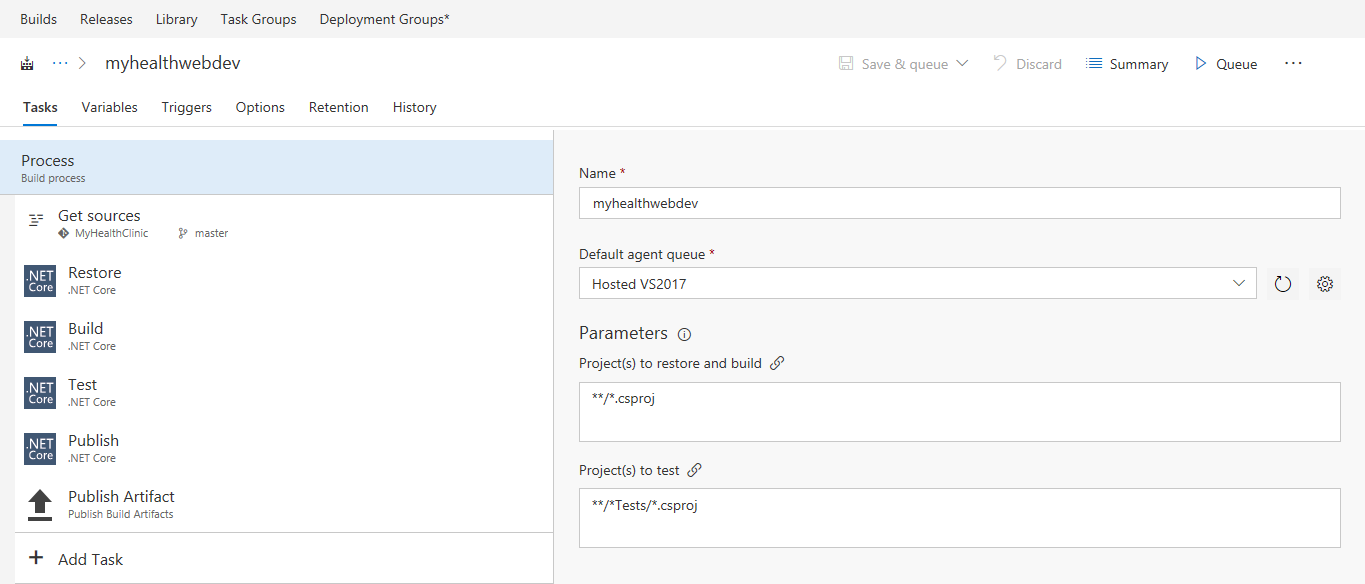
Choose Edit to see the tasks that have been added and configured.
 Note: Different tasks are added to the build definition depending on the app framework you selected. For example, .NET Core task is used for ASP.NET Core apps.
 -
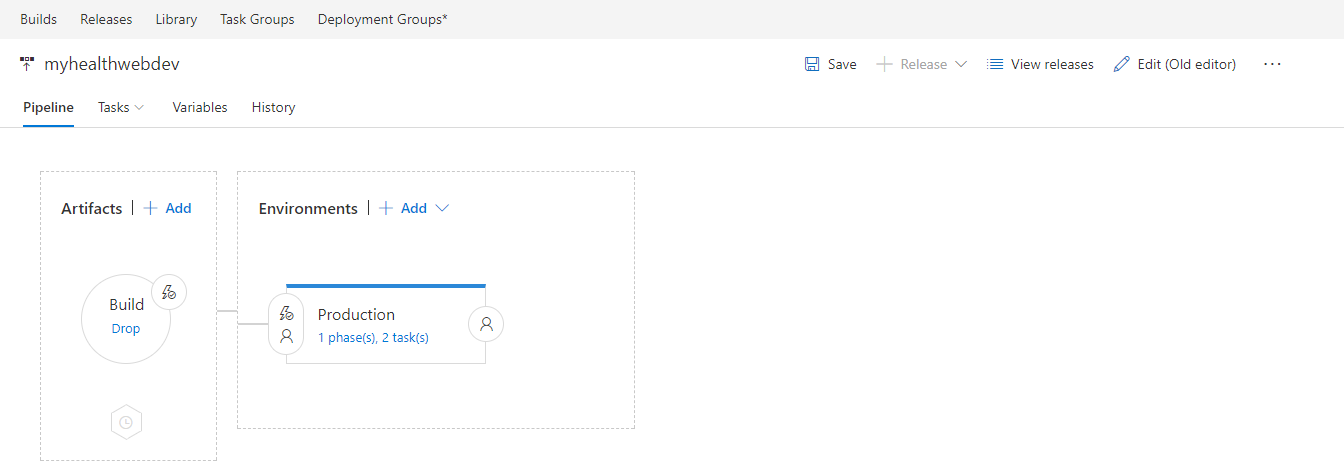
Select the release definition from Successfully set up Continuous Delivery, to open the project containing your app in Team Services, and see the list of releases for this definition. Select Edit to see the tasks that have been added and configured.
-
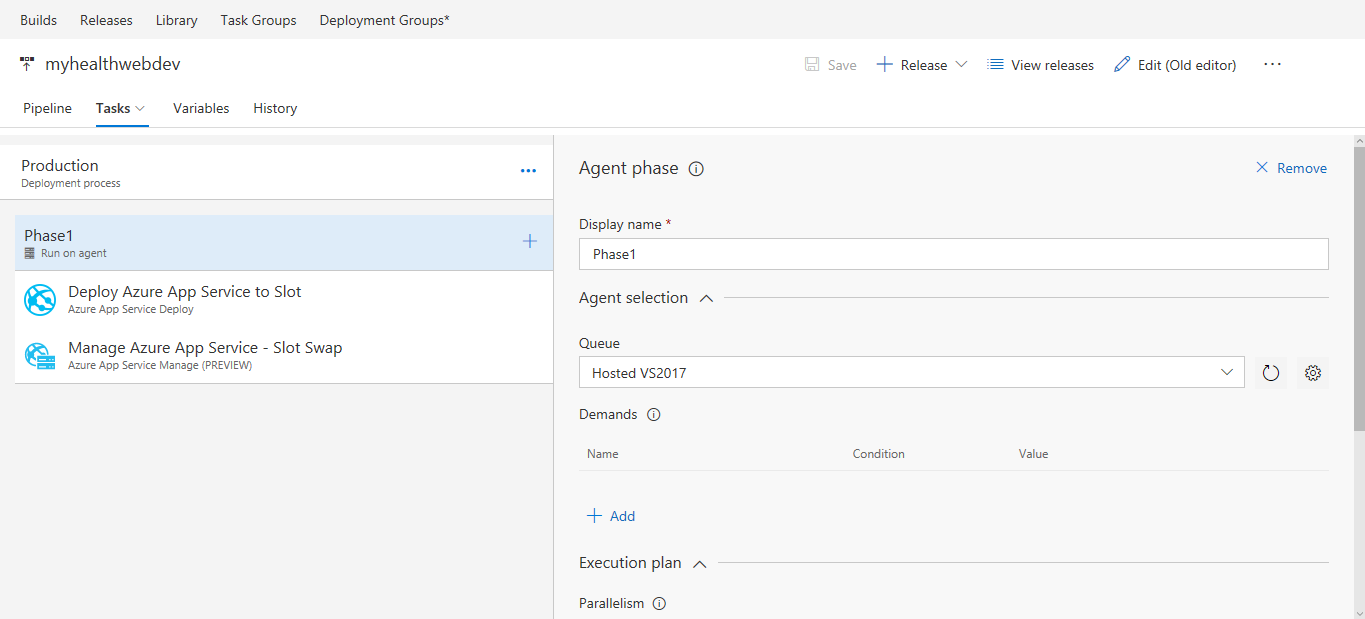
The Production environment, has an Azure App Service Deploy task. The latest changes are deployed to the staging slot and then an Azure App Service Manage task performs a slot swap between staging and production slots.
There are also links in other items in the Activity Log that open commits, builds, build reports, releases, deployment slots, and the deployed app itself, in relevant windows or apps.
-
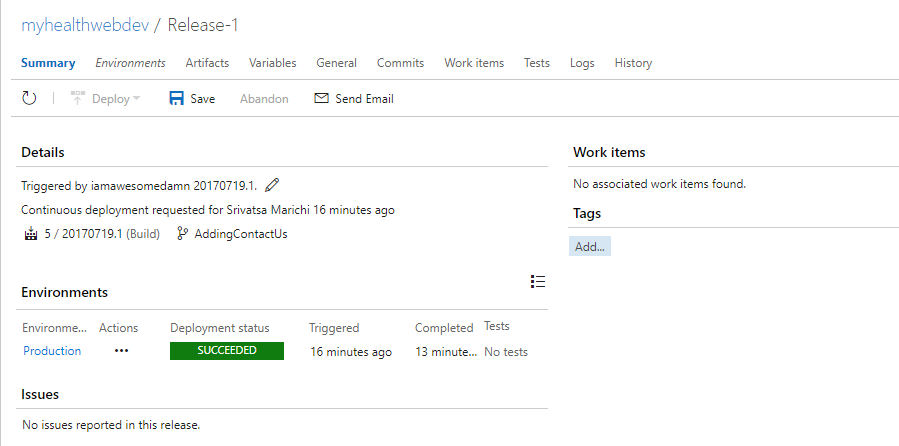
Click on Release summary to view the successful deployment.
-
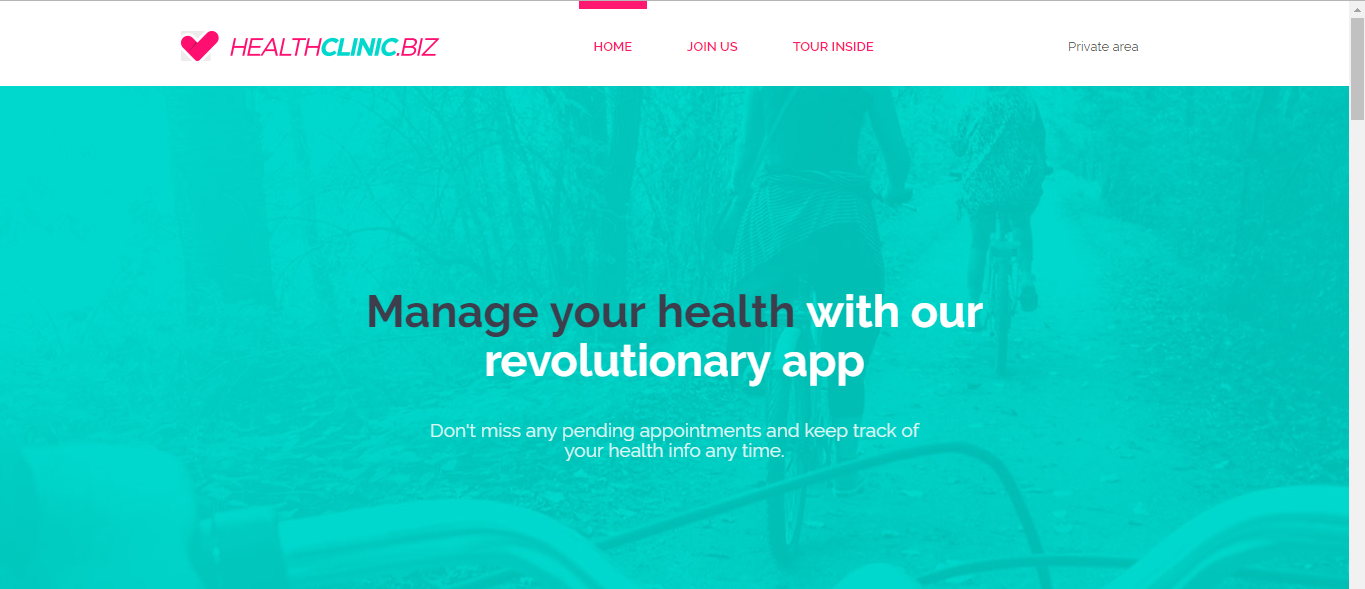
Browse to the web app. You will notice that the app is running, but is missing out all the stylings, images etc. You should see something like this as shown below.
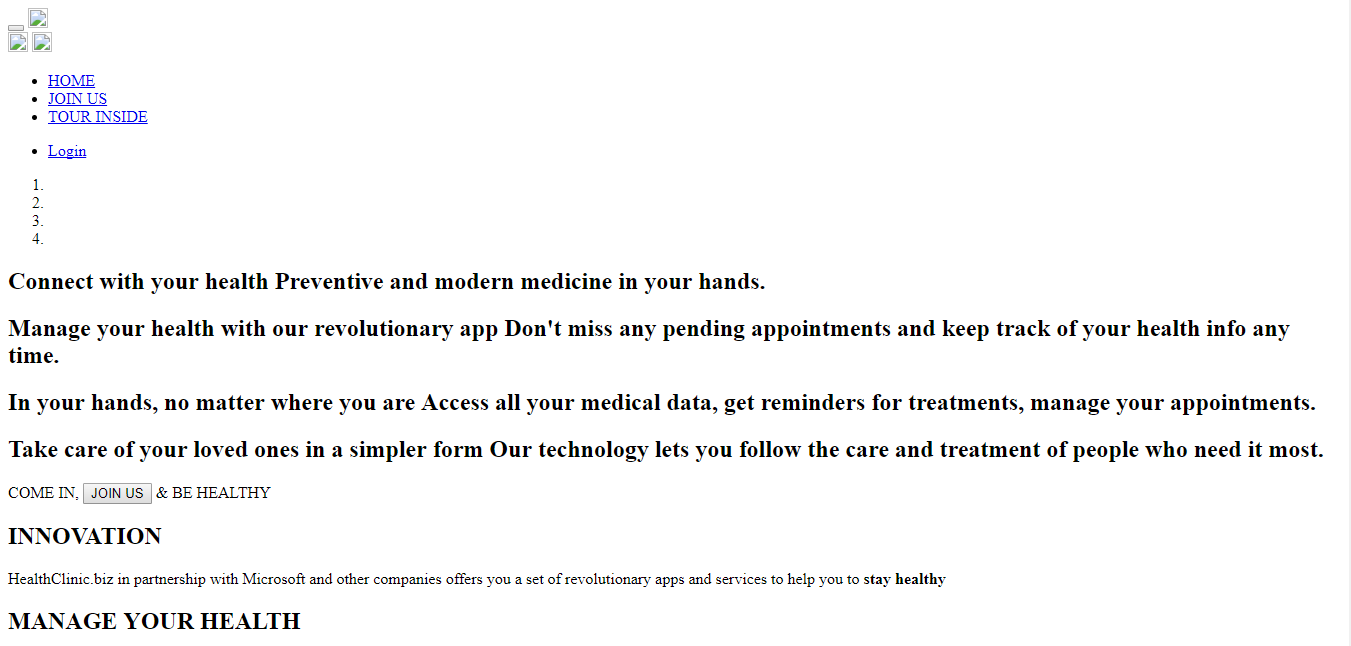 Important: This is because, during the compilation, couple of js dependencies are missed out which we will be adding to the build definition in our next task.
Customizing the CD pipeline
-
Go to your build definition from your VSTS account that was created and edit.
-
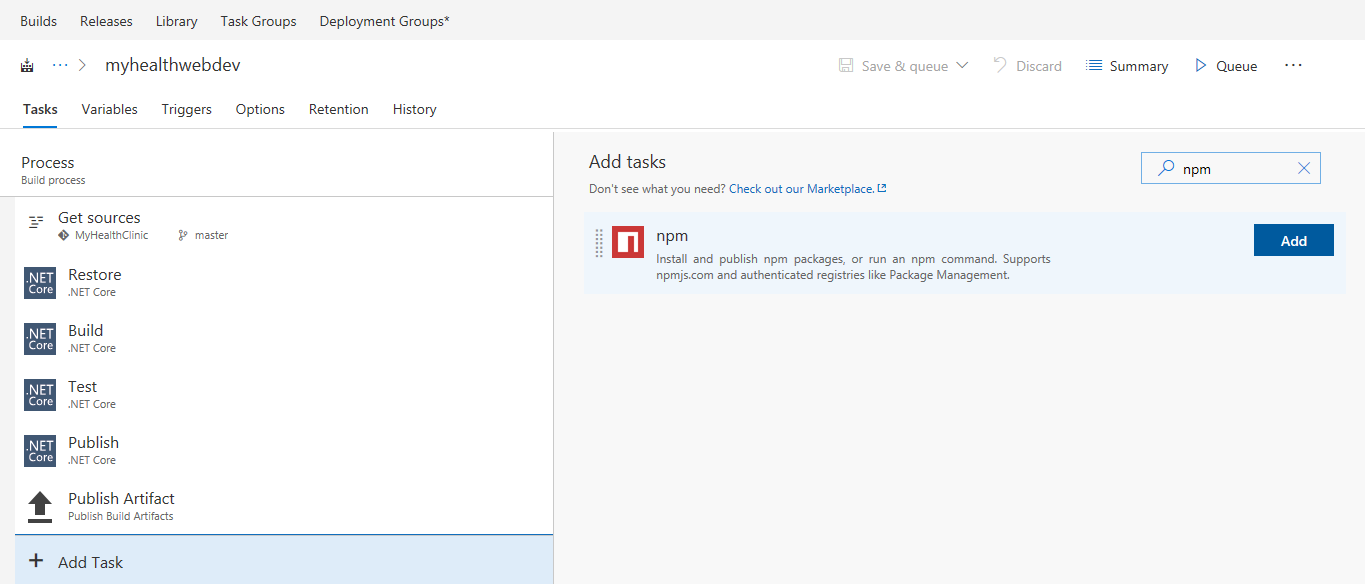
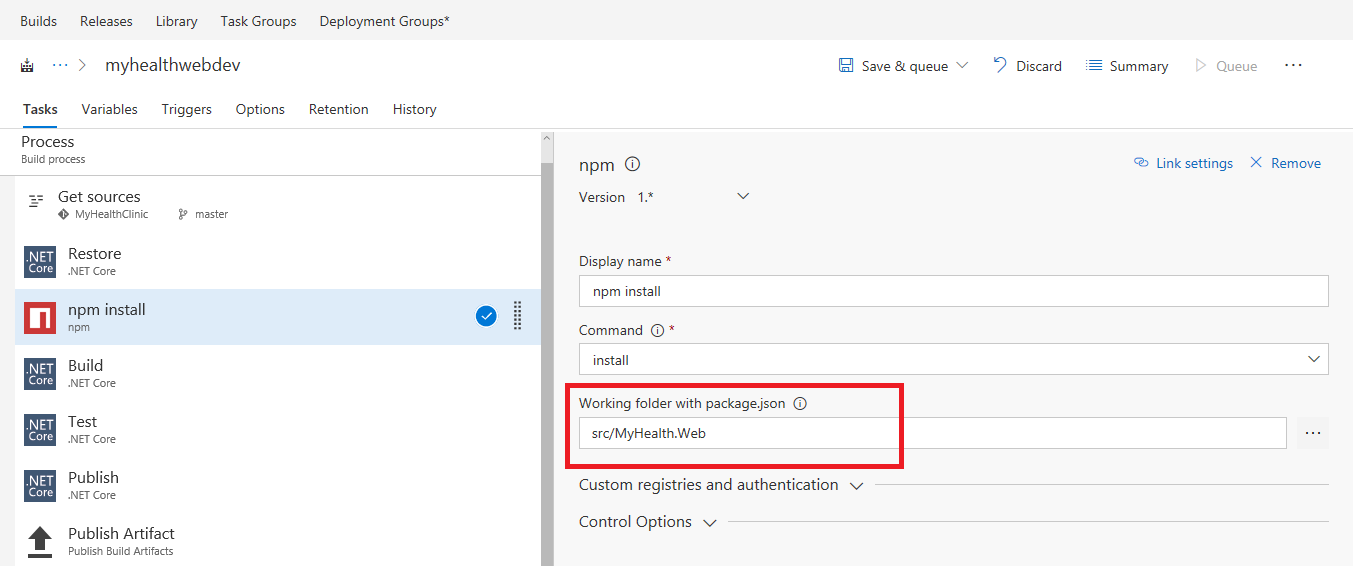
Click on Add Task and search for npm install from the search box.
-
Place the task after .NET restore step. Set the Working folder to src/MyHealth.Web and retain the rest as it is.
-
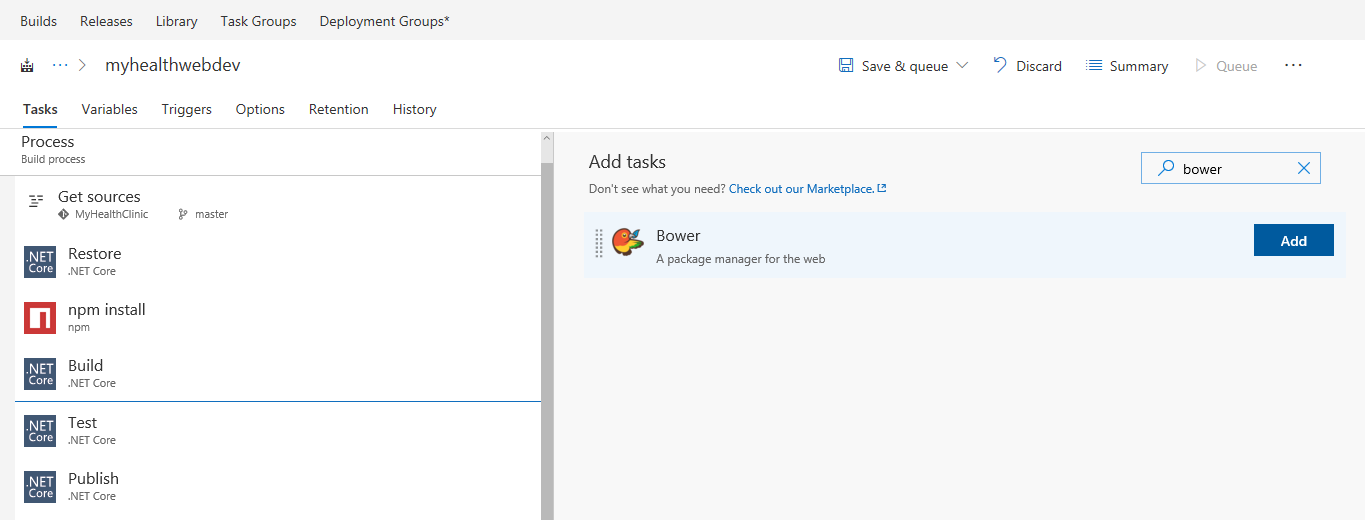
Click on Add task and search for bower task from the search box.
-
Place the task after npm step. Set the Bower JSON Path to src/MyHealth.Web/bower.json

-
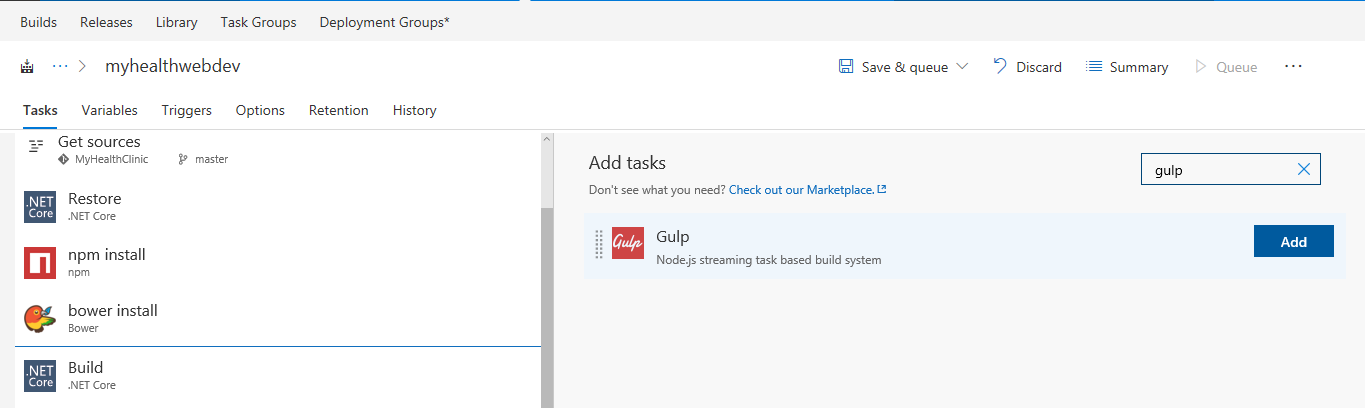
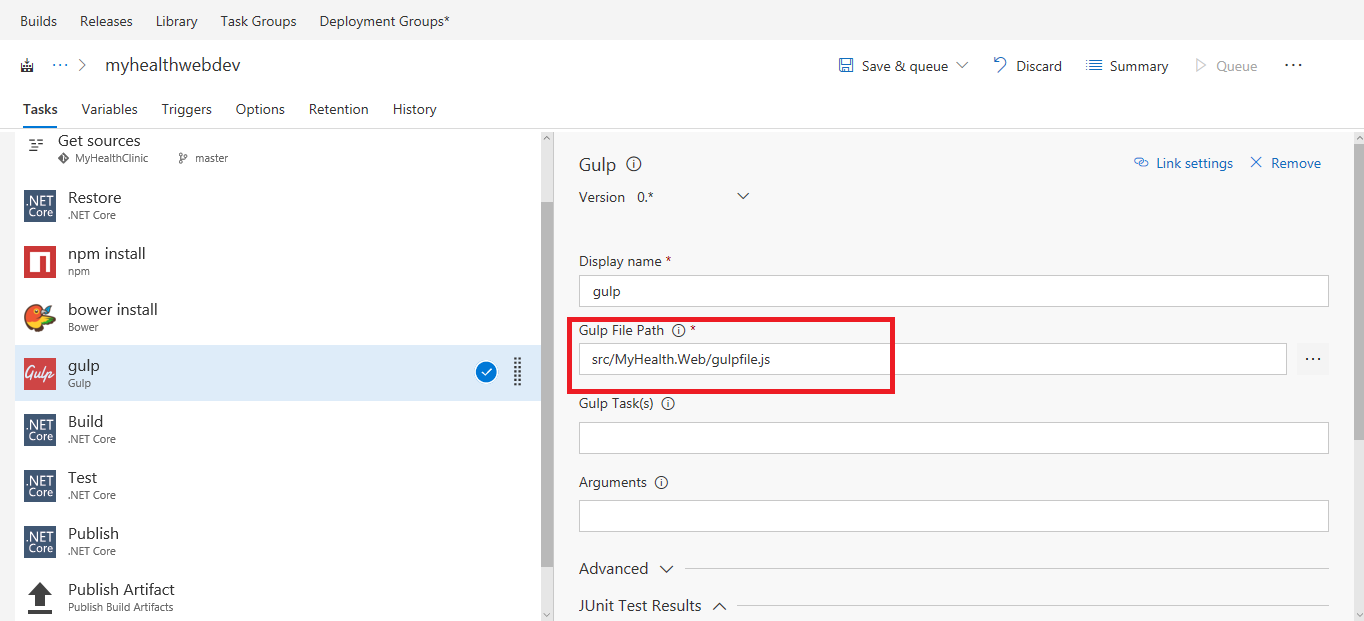
Click on Add task and search for gulp task from the search box.
-
Place the task after bower step. Set the Gulp File path to src/MyHealth.Web/gulpfile.js
-
Click Save and Queue the build.
-
Once the build is completed successfully, we see the pipeline triggered automatically.
-
You can verify this by going to the release hub and check if the deployment is successfully completed. You can refresh the web page and you should see the web page with all the images, stylings etc., as shown below.
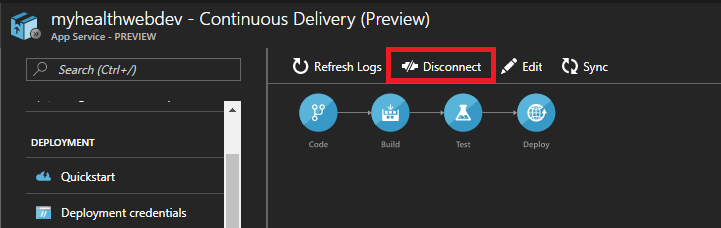
Disconnecting the configuration for CD pipeline
If in case you have to disconnect, you can stop a deployment to your Azure App Service by choosing Disconnect at the top of the Continuous Deployment blade. This deletes the Azure Continuous Delivery configuration in the Azure portal and turns off the build triggers in your Team Services account for this configuration.
To ensure the build and release history is preserved, the build and release definitions are not deleted from Team Services when you disconnect.