Overview
When you decide to modernize your web applications and move them to the cloud, you don’t necessarily have to entirely re-architect your apps. Establishing an environment that emulates your on-premises architecture and putting your application “gets” you there, but doesn’t accomplish much more than that.
Re-architecting an application by using an advanced approach like micro-services isn’t always an option, because of cost and time restraints. Ripping apart the app and re-writing what sometimes can be years of work and iterations of people and business decisions probably wouldn’t be the advised first step.
Depending on the type of application, re-architecting your apps might not be necessary. But adding a Dockerfile, and maybe migrating the database to a service offering like Azure’s SQL Database require no code change other than connection strings.
In this Lab, you will use the Nerd Dinner Application. Nerd Dinner is an Open Source ASP.NET MVC Project that helps nerds and computer people plan get-togethers. You can see the site running LIVE at http://www.nerddinner.com. You will move the application DB to Azure SQL instance and add the Docker support to the application to run the application in Azure Container Instances.
What’s covered in this lab?
In this lab, you will
- Migrate the LocalDB to SQL Server in Azure
- Using the Docker tools in Visual Studio 2017, add the Docker support for the application
- Publish Docker Images to Azure Container Registry (ACR)
- Push the new Docker images from ACR to Azure Container Instances (ACI)
Before you begin
-
Microsoft Azure Account: You will need a valid and active Azure account for the Azure labs. If you do not have one, you can sign up for a free trial
-
Visual Studio 2017 latest version with.Net Core SDK and Azure Development Tools for Visual Studio are installed.
-
Docker for windows needs to be installed. Click here for download and install instructions for Docker for windows
Setting up the Environment
-
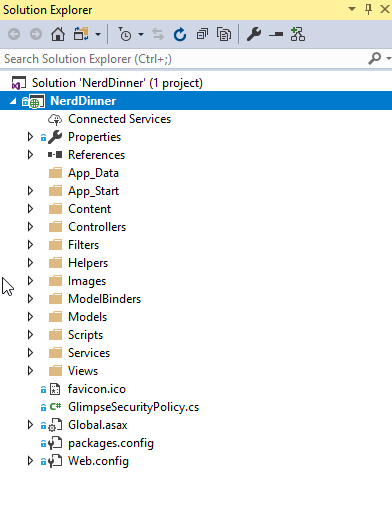
Clone the application repo from https://github.com/spboyer/nerddinner-mvc4 in your local machine and open the solution in Visual Studio 2017.
-
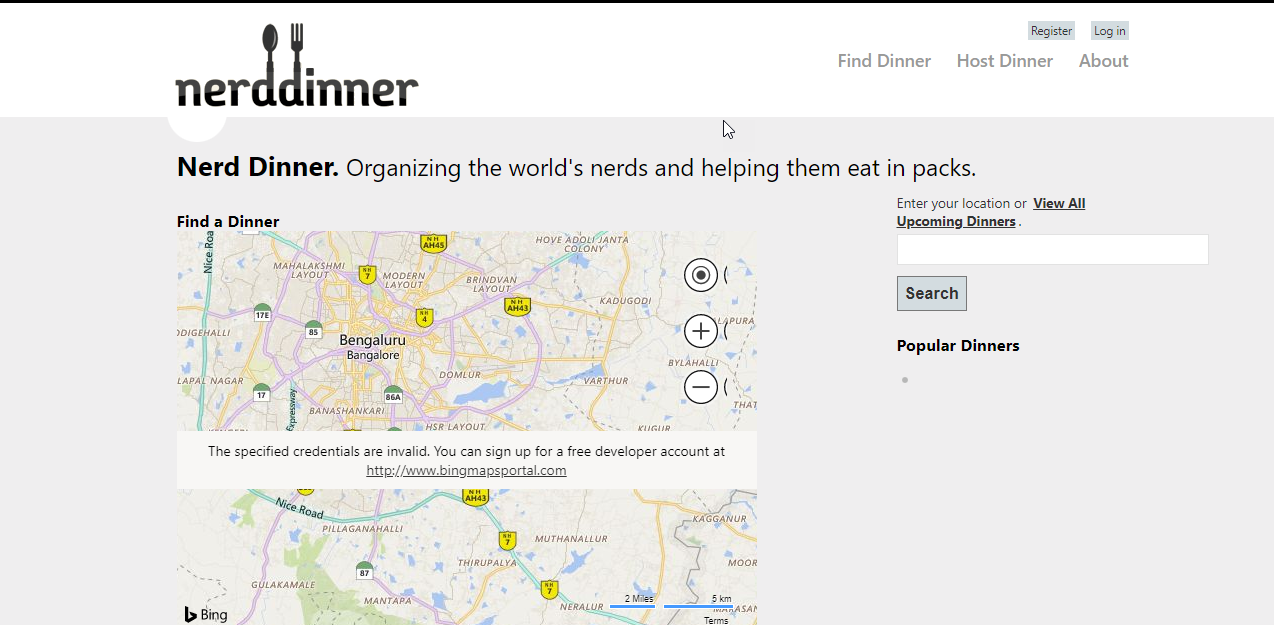
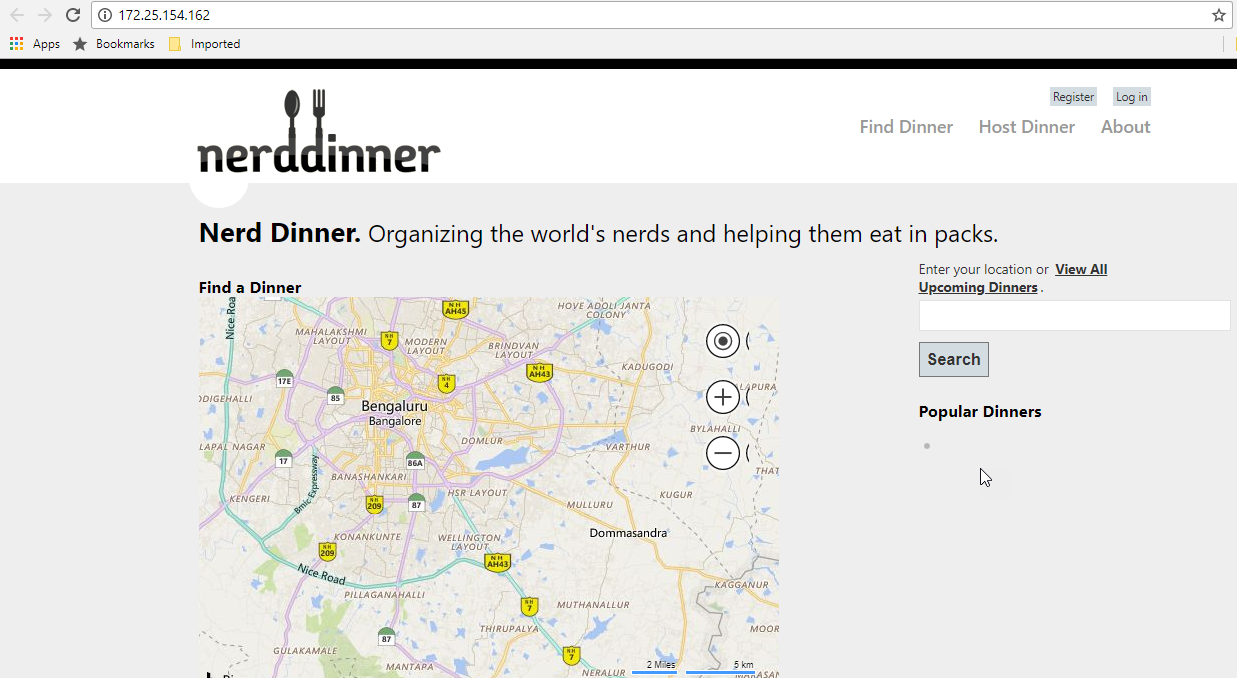
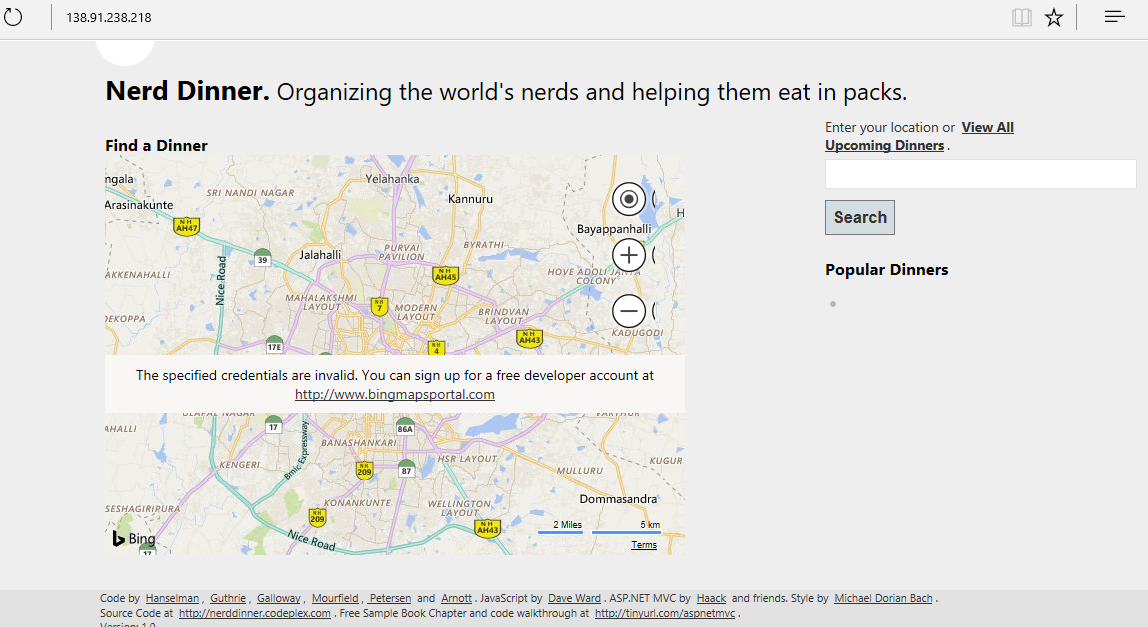
Rebuild the solution and run the application locally to ensure that the application is working fine. The application looks like as shown in the below figure.
Exercise 1: Migrate the LocalDB to SQL Server in Azure
In this exercise, you will create a SQL Azure instance and migrate the application LocalDB to SQL Server in Azure.
-
Create a new SQL Azure instance in the Azure portal by following the below document.
-
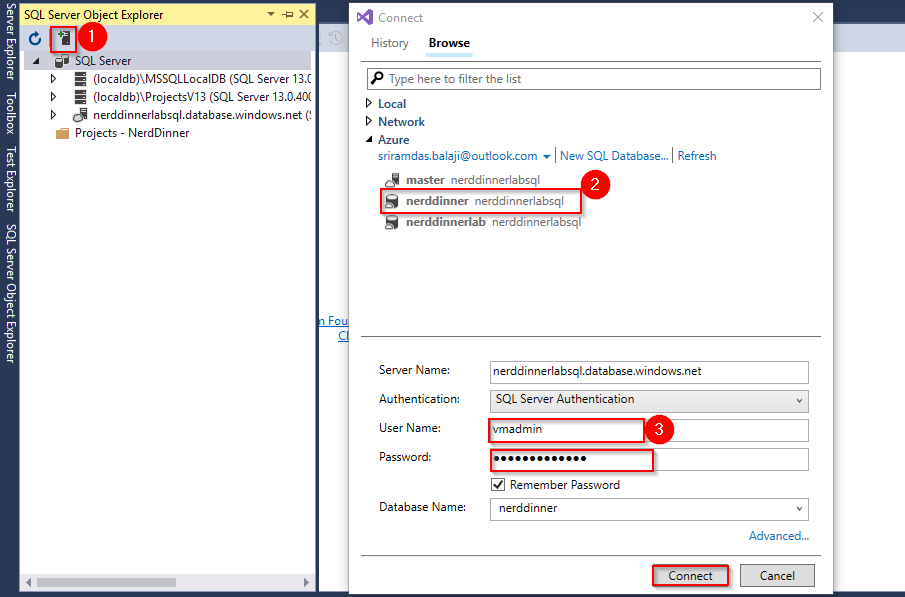
Once the SQL database is provisioned in Azure, open the SQL Server Object Explorer in Visual Studio. Click on Add Server icon and connect to the Azure SQL server which you have deployed in the previous step.
-
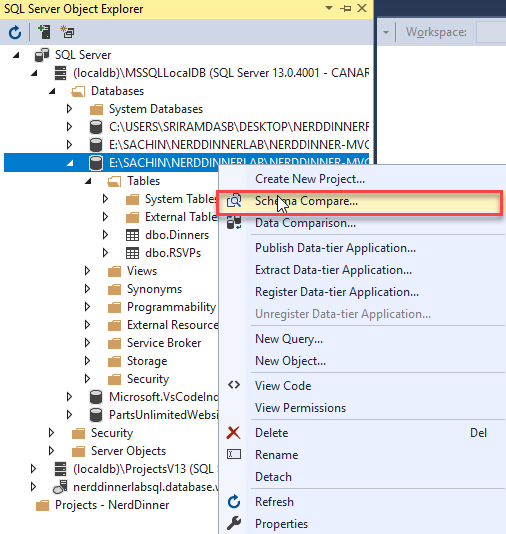
To get the schema moved from the LocalDB to the new SQL Azure instance right-click on the LocalDB Instance and select the Schema Compare option.
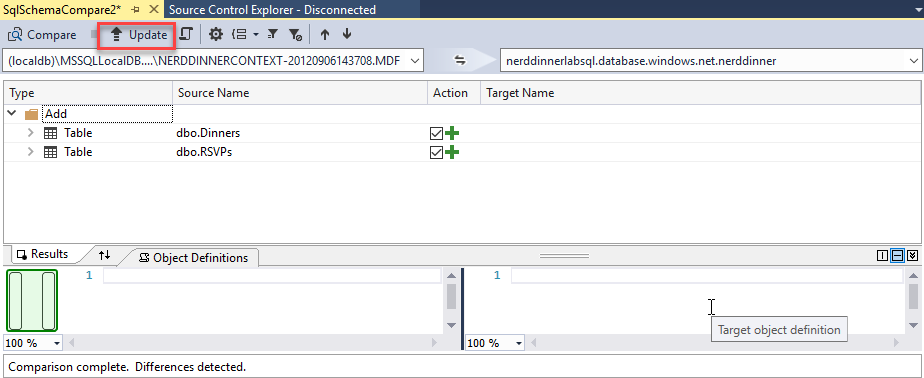
In the schema compare wizard select target as Azure SQL database and click on compare.

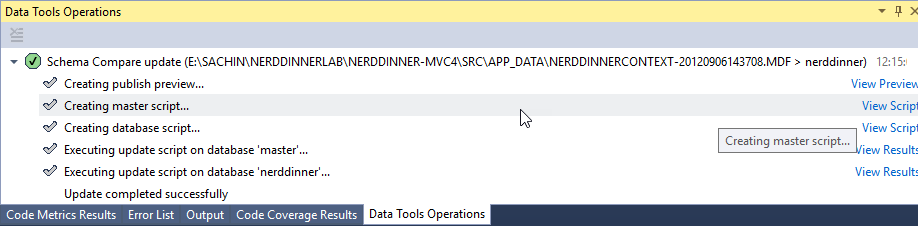
Click on Update in the next wizard to update the schema to Azure SQL database.
-
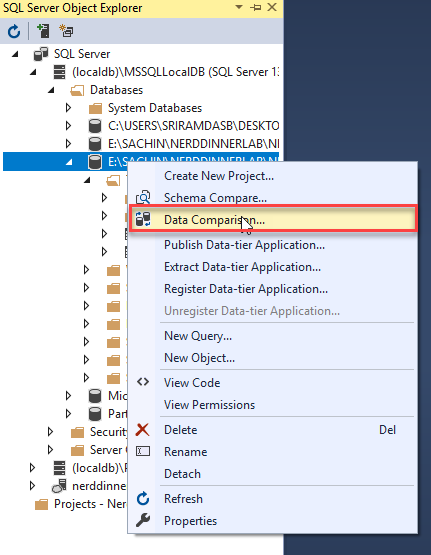
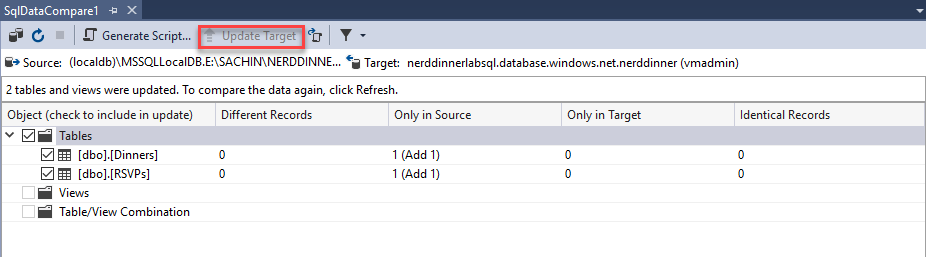
Similarly to get the data moved from the LocalDB to the SQL Azure instance to right-click on the LocalDB Instance and select the Data Compare tool and walk through the SQL Data Compare wizard.
In the wizard select target as Azure SQL database and click on compare.
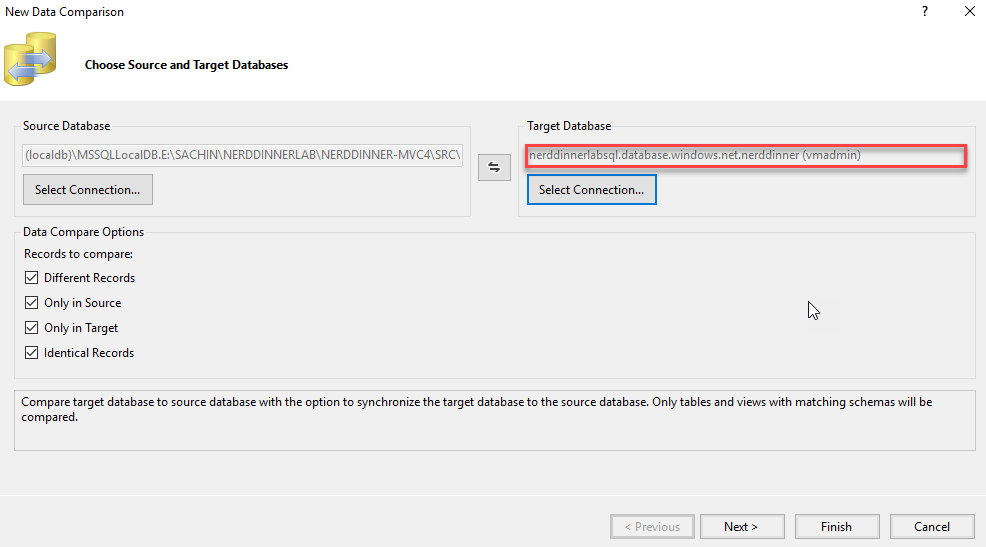
Click on Update to move data to Azure SQL database.
-
In order to accomplish the zero code change mantra, using web.config transforms is the best way to accomplish. Here you will add a new web.release.config with a new entry. Open the web.release.config in Visual Studio and add the below entry.
<connectionStrings> <add name="DefaultConnection" connectionString="Data Source=nerddinnerlabsql.database.windows.net;Initial Catalog=nerddinnerlab;Integrated Security=False;User ID=yourUserID;Password=yourdbpassword;Connect Timeout=30;Encrypt=True;TrustServerCertificate=False;ApplicationIntent=ReadWrite;MultiSubnetFailover=False" providerName="System.Data.SqlClient" xdt:Transform="SetAttributes" xdt:Locator="Match(name)"/> </connectionStrings>Note: Replace the connection string with your Azure SQL database connection string.
Now you have successfully migrated the application LocalDB to Azure SQL Db and also updated connection string to refer to Azure SQL.
Exercise 2: Add Docker Support and debug the application locally within the Docker container using Visual Studio
-
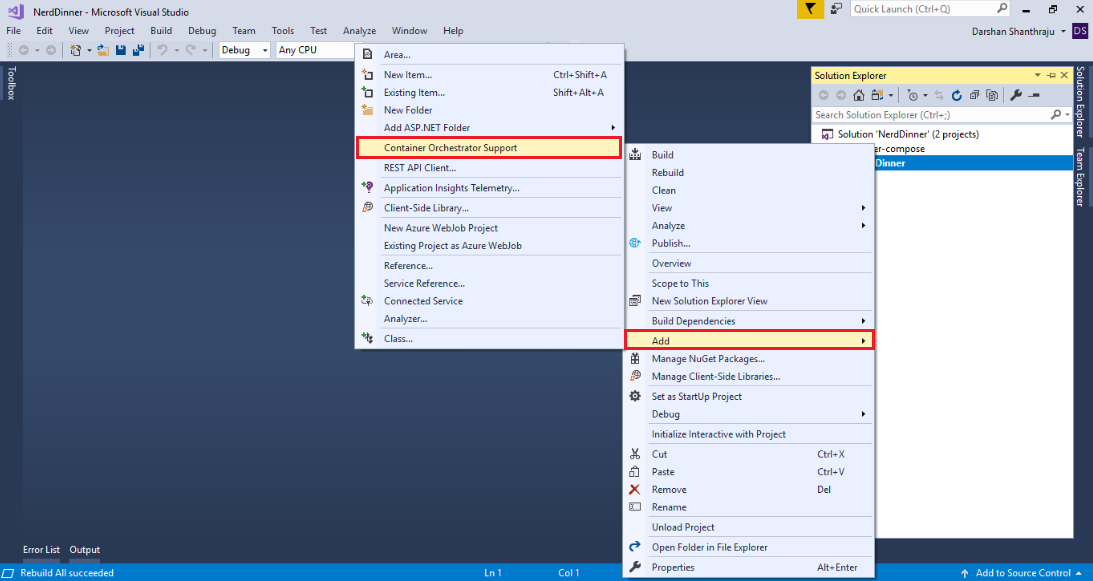
Visual Studio has great support for Docker. In order to containerize the application using Docker, all you have to do is right-click on the project, select Add->Container Orchestrator Support.
-
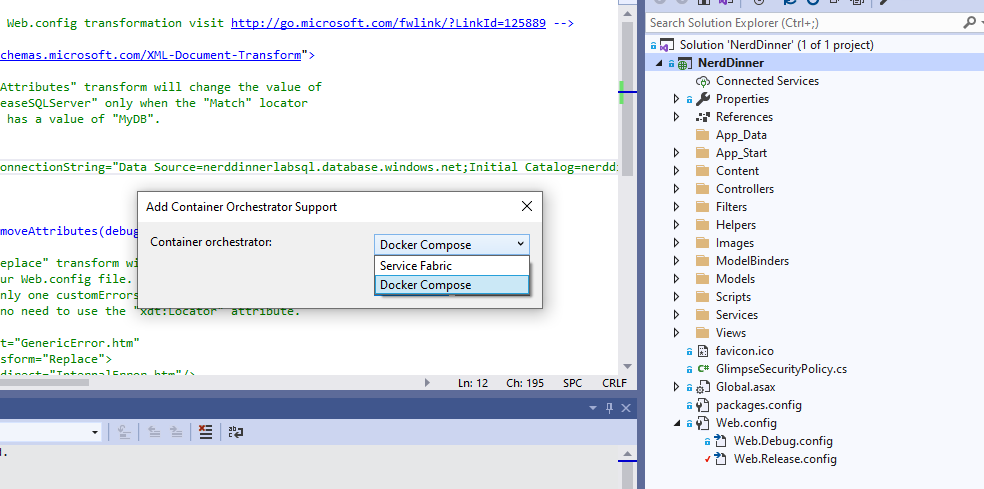
Choose Docker Compose in Container Orchestrator drop-down.
-
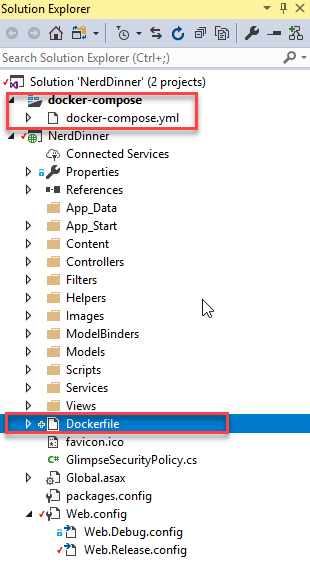
Visual Studio then adds the Docker file, compose files and a specific Docker project to the solution. It also inspects the project to determine the proper base image to use for your project.
In the case of Nerd Dinner, it chose to use microsoft/aspnet:4.7.1-windowsservercore-ltsc2016. Here is the complete file.
FROM microsoft/aspnet:4.7.1-windowsservercore-ltsc2016 ARG source WORKDIR /inetpub/wwwroot COPY ${source:-obj/Docker/publish} . -
To run the application locally and debug within the Docker container using Visual Studio and to test the connectivity to the SQL Azure instance, set the docker-compose as the startup project and click on Docker.

Visual Studio downloads the base images and subsequently builds your dev images
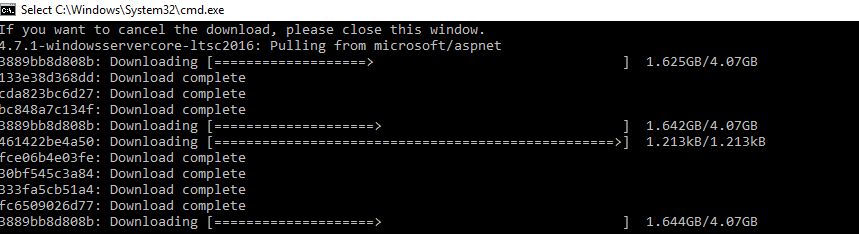
Once the images are downloaded and build is done you will see the application launching in the local browser.
Now the application is running in local docker. To see the list of docker images you can run the following command.
docker imagesYou will see the images similar to this

Exercise 3: Publish Docker Images to Azure Container Registry (ACR)
Now that you have validated that the application is running successfully in local Docker, you can publish the image to a new or existing Azure Container Registry using the publishing wizard in Visual Studio.
-
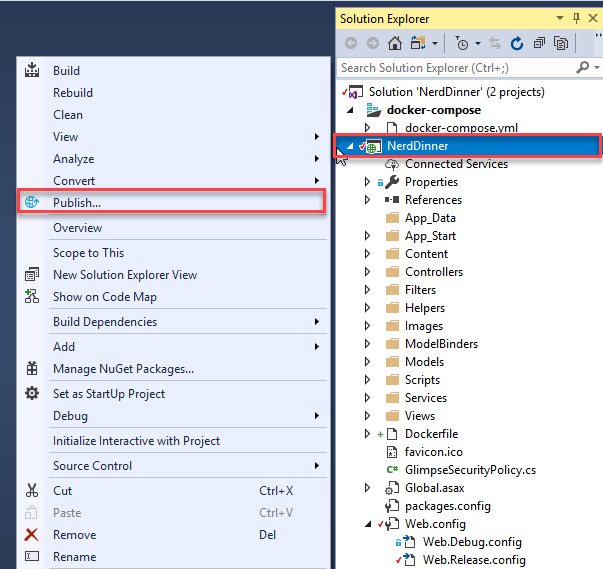
Right-click on the project, select Publish
-
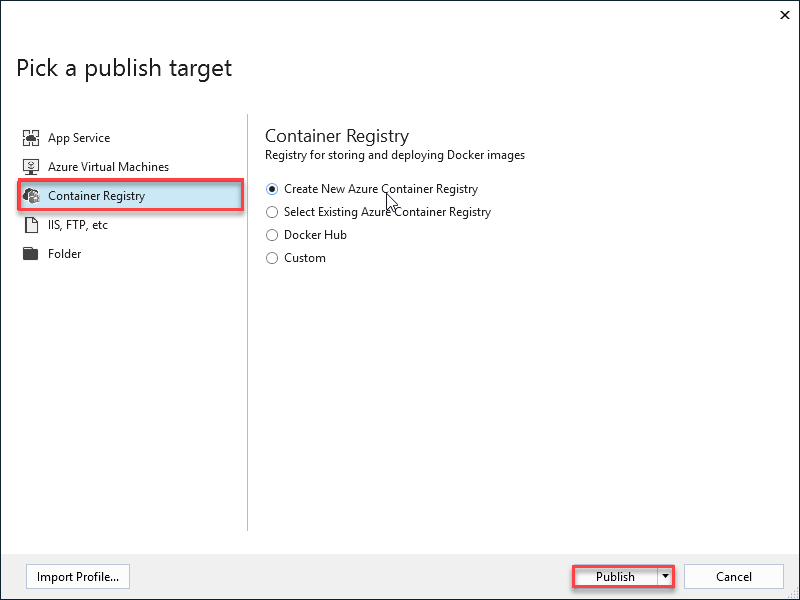
In the Publish wizard select Container Registry and select Create New Azure Container Registry and click on Publish
-
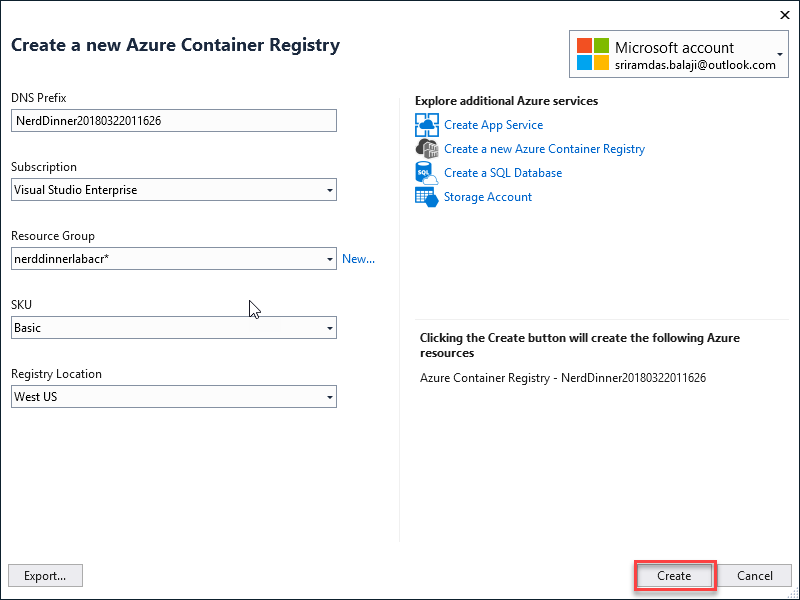
Fill the required details and click on Create
-
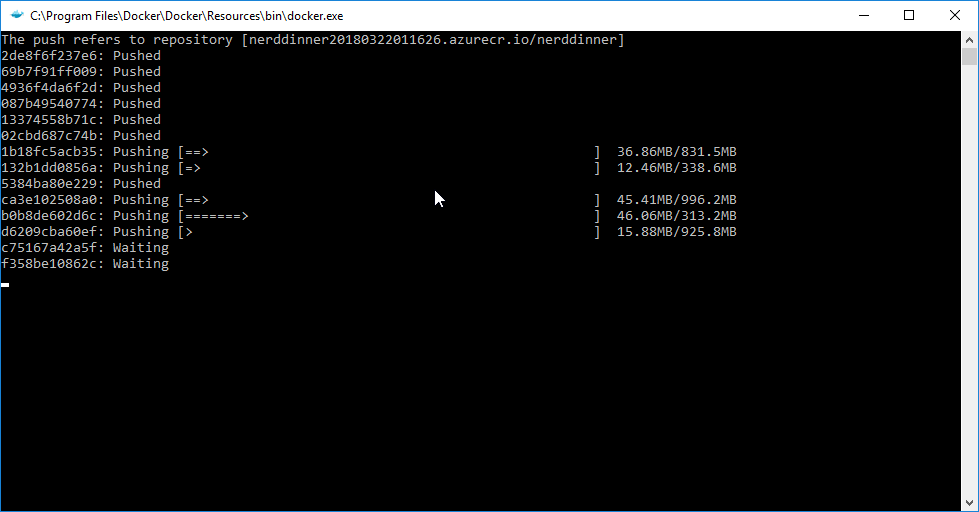
When publishing, the production Docker image is created and pushed to the Azure Container Registry.
-
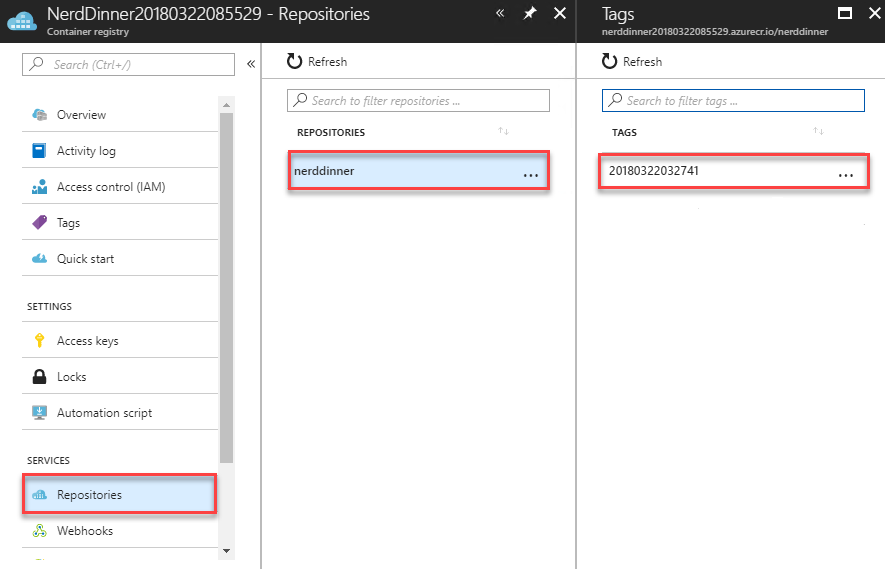
Once the publish is successful, navigate to the deployed ACR in the Azure portal. You will see nerddinner repository with image Tag is published.
-
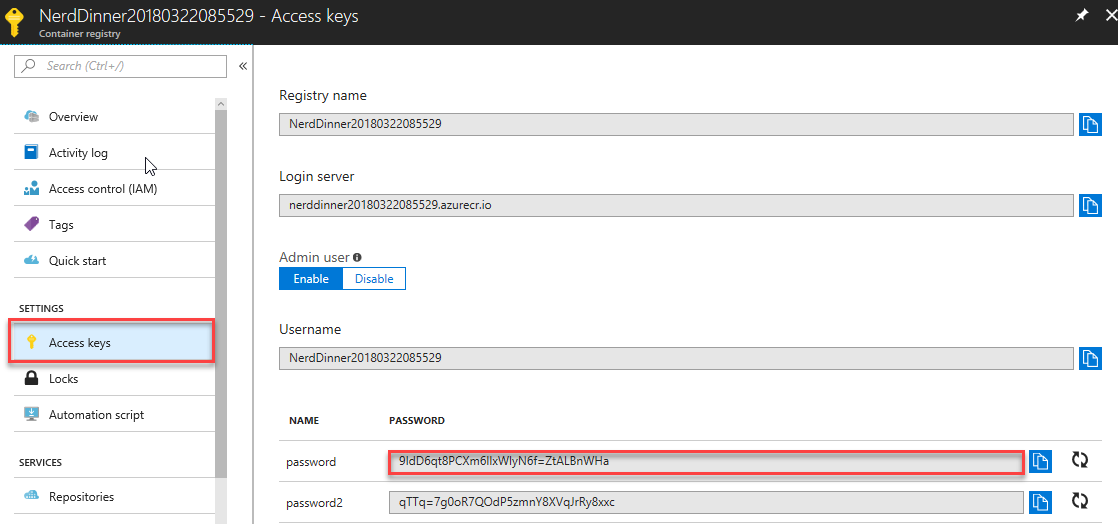
Select Access Keys under settings in ACR and copy the password. This password is required in the next exercise.
Exercise 4: Push the new Docker images from ACR to Azure Container Instances (ACI)
In this exercise, you will create an Azure Container Instance and push the new Docker image from ACR to Azure Container Instance.
You have options as to where the application can be deployed.
- Azure Container Instances
- Azure Container Service
- Service Fabric
You will use a Windows Container on Azure Container Instances (ACI) to bring up Nerd Dinner.
-
You will use Azure CLI to create and push the image to Azure Container Instance. Click on Cloud Shell in the Azure portal.

-
Run the following command to create a new resource group for ACI
az group create --name nerddinnerapp --location westus
-
Run the following command to Create windows ACI and push the Nerd Dinner image from ACR.
az container create --name nerddinnerapp --resource-group nerddinnerapp --os-type windows --image {your acr name}.azurecr.io/nerddinner:{Image Tag} --ip-address public
When prompted for image registry password paste the password which you had copied in the previous exercise
Replace your acr name and Image tag with your resources details
It would take approximately 5-10 minutes to deploy ACI.
-
Navigate to the resource group where ACI is being deployed or deployed, and select the nerddinnerapp container group.

Once the State of the container is Running you can access the deployed Nerd Dinner application using IP address. Copy the IP address and paste in the browser to see the application running.
Summary
You have learnt how to modernize existing .NET applications with Azure cloud and Windows Containers with minimal code/config changes.