In this exercise, you are going to open the MyShuttle2 repo from your VSTS account in your VM for editing in IntelliJ. This exercise assumes you have completed Exercise 1, have created a Team Project that uses Git for version control, and imported the MyShuttle2 GitHub repo into your team project. This exercise uses a team project named jdev-labs, though your team project name may differ.
Connect to VSTS from IntelliJ
-
Click on the IntelliJ icon in the toolbar to open IntelliJ IDEA.

-
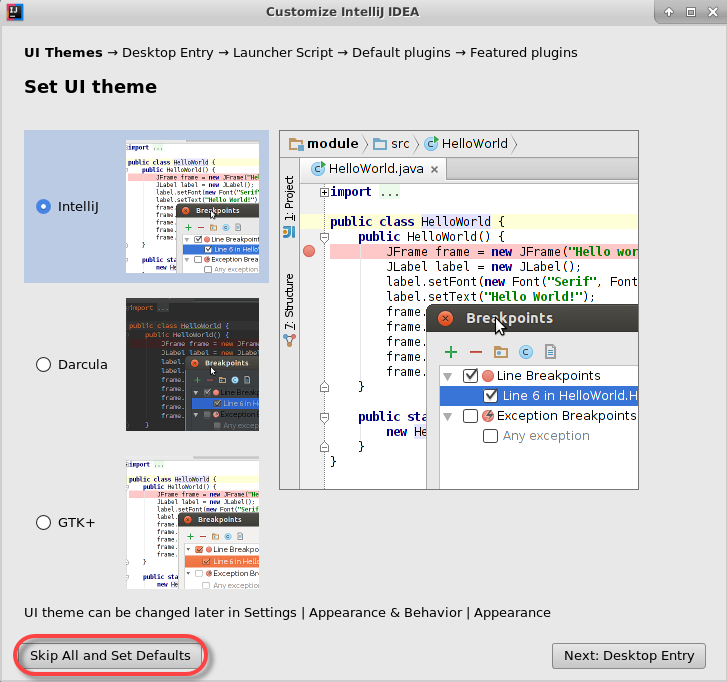
The first time you run IntelliJ, it will prompt for IntelliJ settings and theme settings. Click on Do not import settings, then click on Skip All and Set Defaults to use the defaults.
-
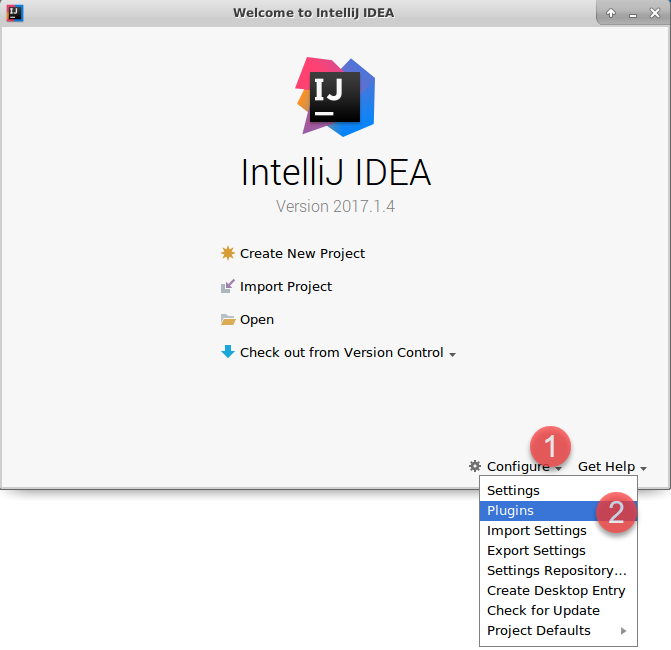
When the Welcome dialog appears, click Configure and then select Plugins.
-
In the search box type
visual studio team servicesand click the Search in repositories link in the main window.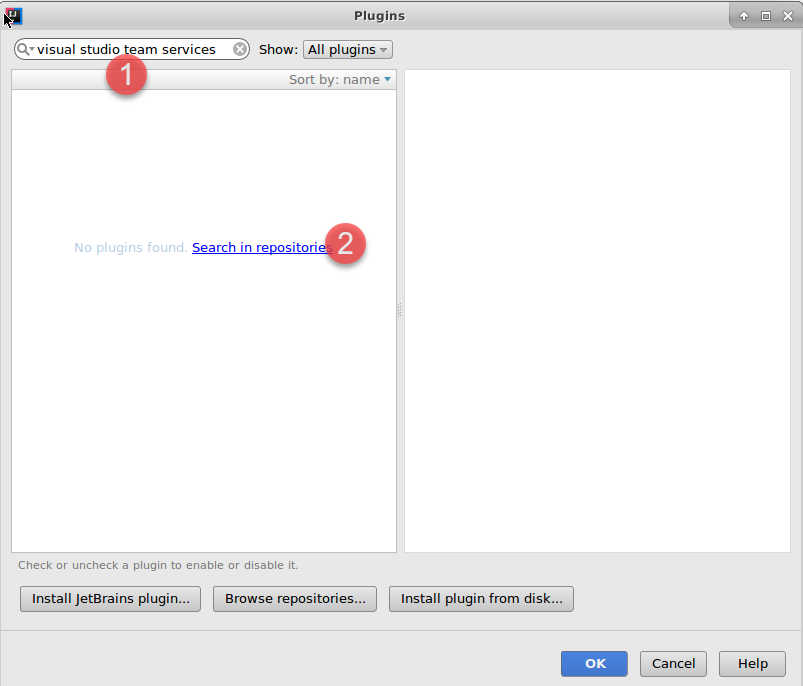
-
Click Install to install the extension. The install button will change to a Restart button. Click it to restart IntelliJ.

-
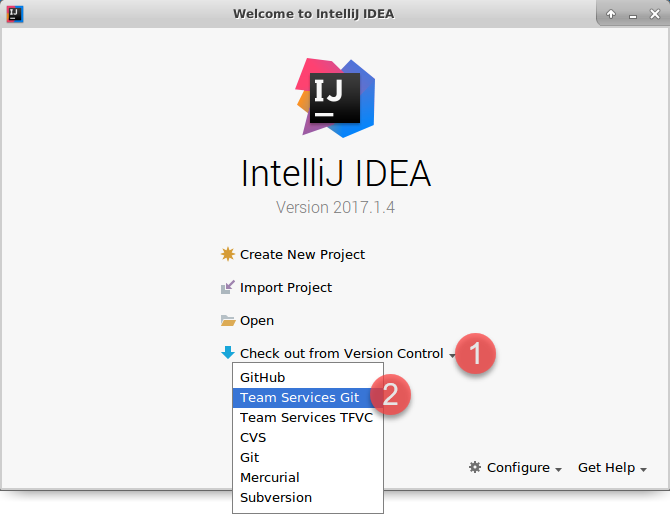
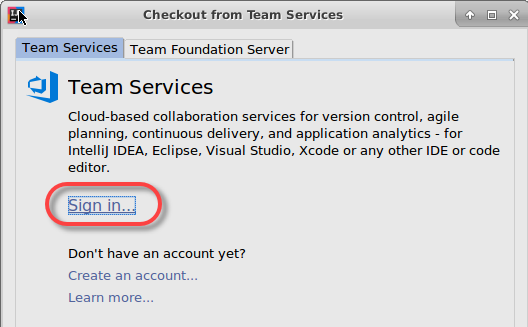
When IntelliJ restarts, the Welcome dialog will appear again. Click Check out from Version Control and select Team Services Git.
-
Click on Sign in… to sign in to your VSTS account.
Clone MyShuttle2 from VSTS with IntelliJ
-
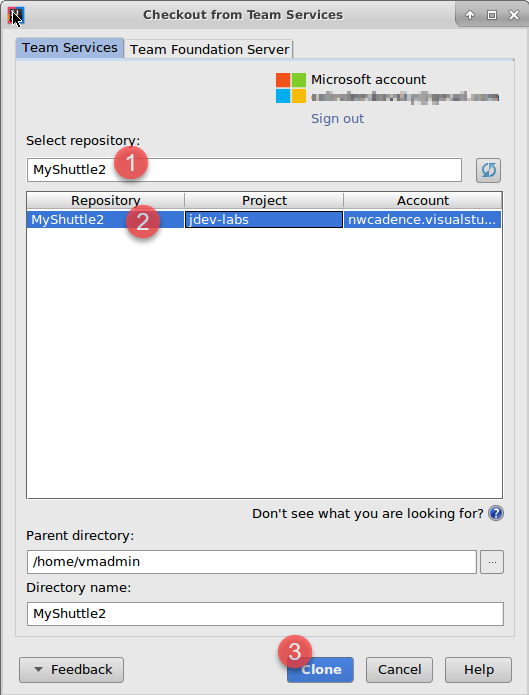
Once you are authenticated, enter MyShuttle2 into the search bar and select the MyShuttle2 repo from your team project. Click Clone to clone the repo to the VM.
-
IntelliJ detects a Maven project file (pom.xml) and asks if you want to open it. Click Yes to open the project. You can dismiss the Tip of the Day dialog that appears.
-
Press Alt-1 to open the Project View.
-
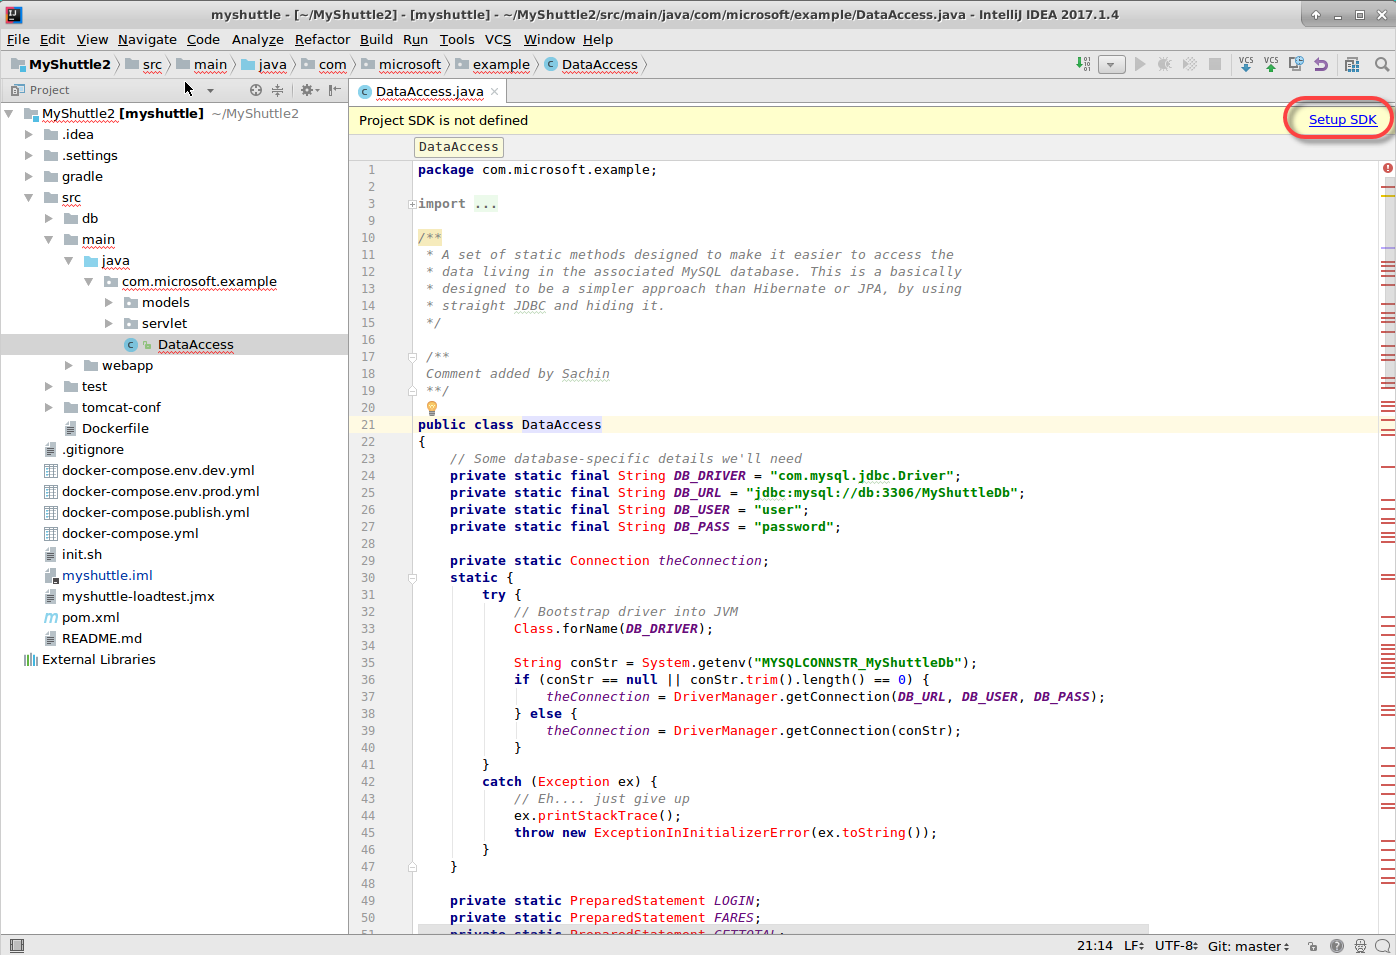
Expand
src\main\java\com.microsoft.exampleand click on DataAccess to open the DataAccess class. -
A yellow warning appears in the main editor window prompting you to Setup SDK. Click on the link.
-
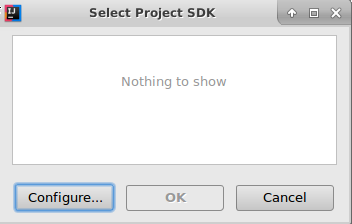
In the Select Project SDK dialog, click Configure…
-
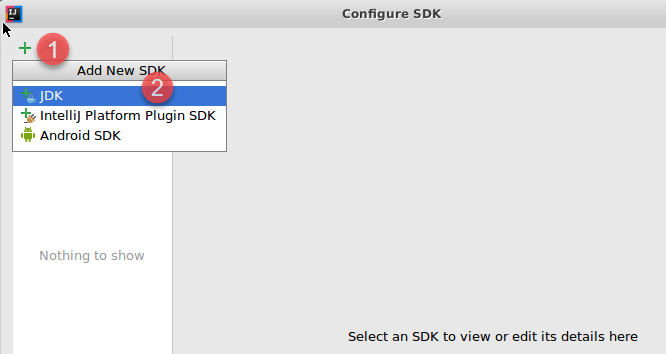
In the upper left, click the green + icon to add a new SDK.
-
Select
java-8-openjdk-amd64from the folder list and click OK. Click OK through the rest of the dialogs.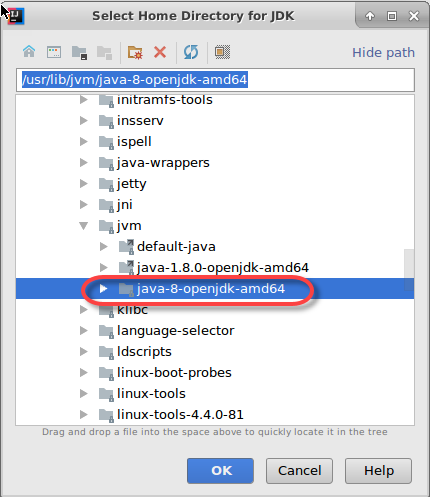 Note: The project will not currently compile as it has a dependency on a library (MyShuttleCalc) that it cannot resolve. You will fix this in the Package Management lab.
Clone MyShuttleCalc from VSTS with IntelliJ
-
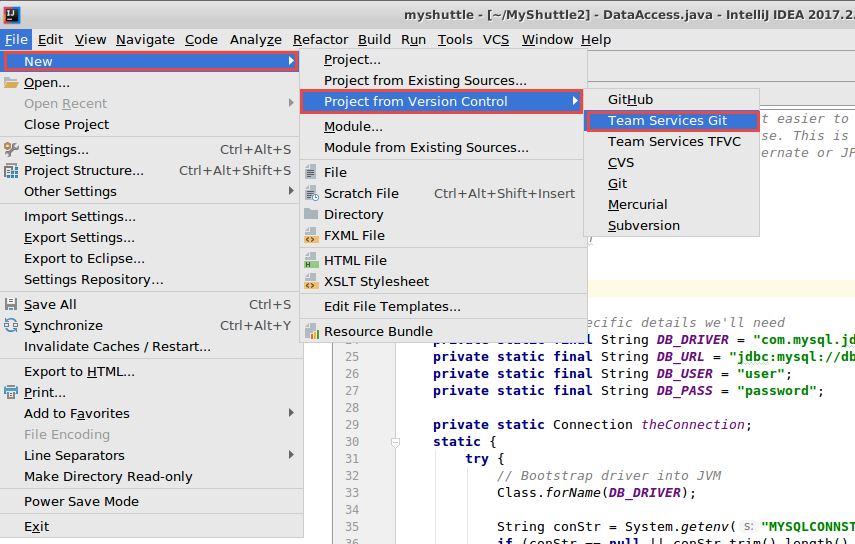
While the MyShuttle2 project is open in IntelliJ, in the toolbar at the top of IntelliJ, select File -> New -> Project from Version Control -> Team Services Git.
-
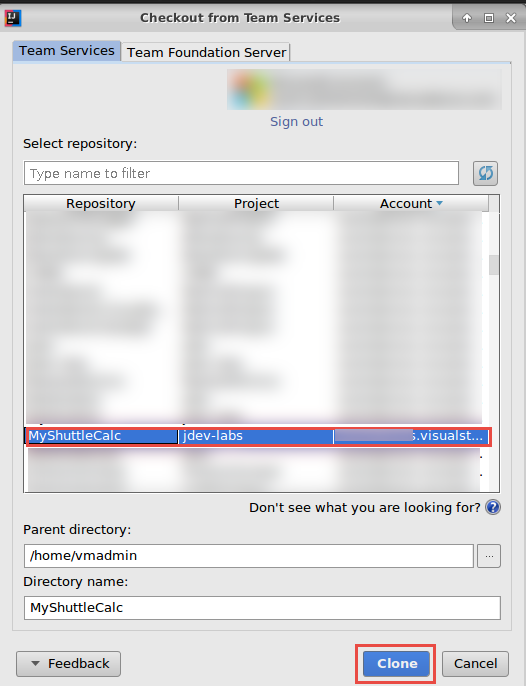
Enter MyShuttleCalc into the search bar and select the MyShuttleCalc repo from your team project. Click Clone to clone the repo to the VM.
-
IntelliJ will prompt you to open the project in the same or a new window. Choose New Window to open another instance of IntelliJ with the MyShuttleCalc project.

-
IntelliJ should open in a new instance with the project loaded.
